Creating A User Interface
Until now we have been creating GTK widgets with JavaScript code like this:
const button = new Button();While this syntax is frequently used it is much easier and maintainable to build most of your application using a user interface file. A user interface file is an XML file containing all of your widgets' positioning and properties.
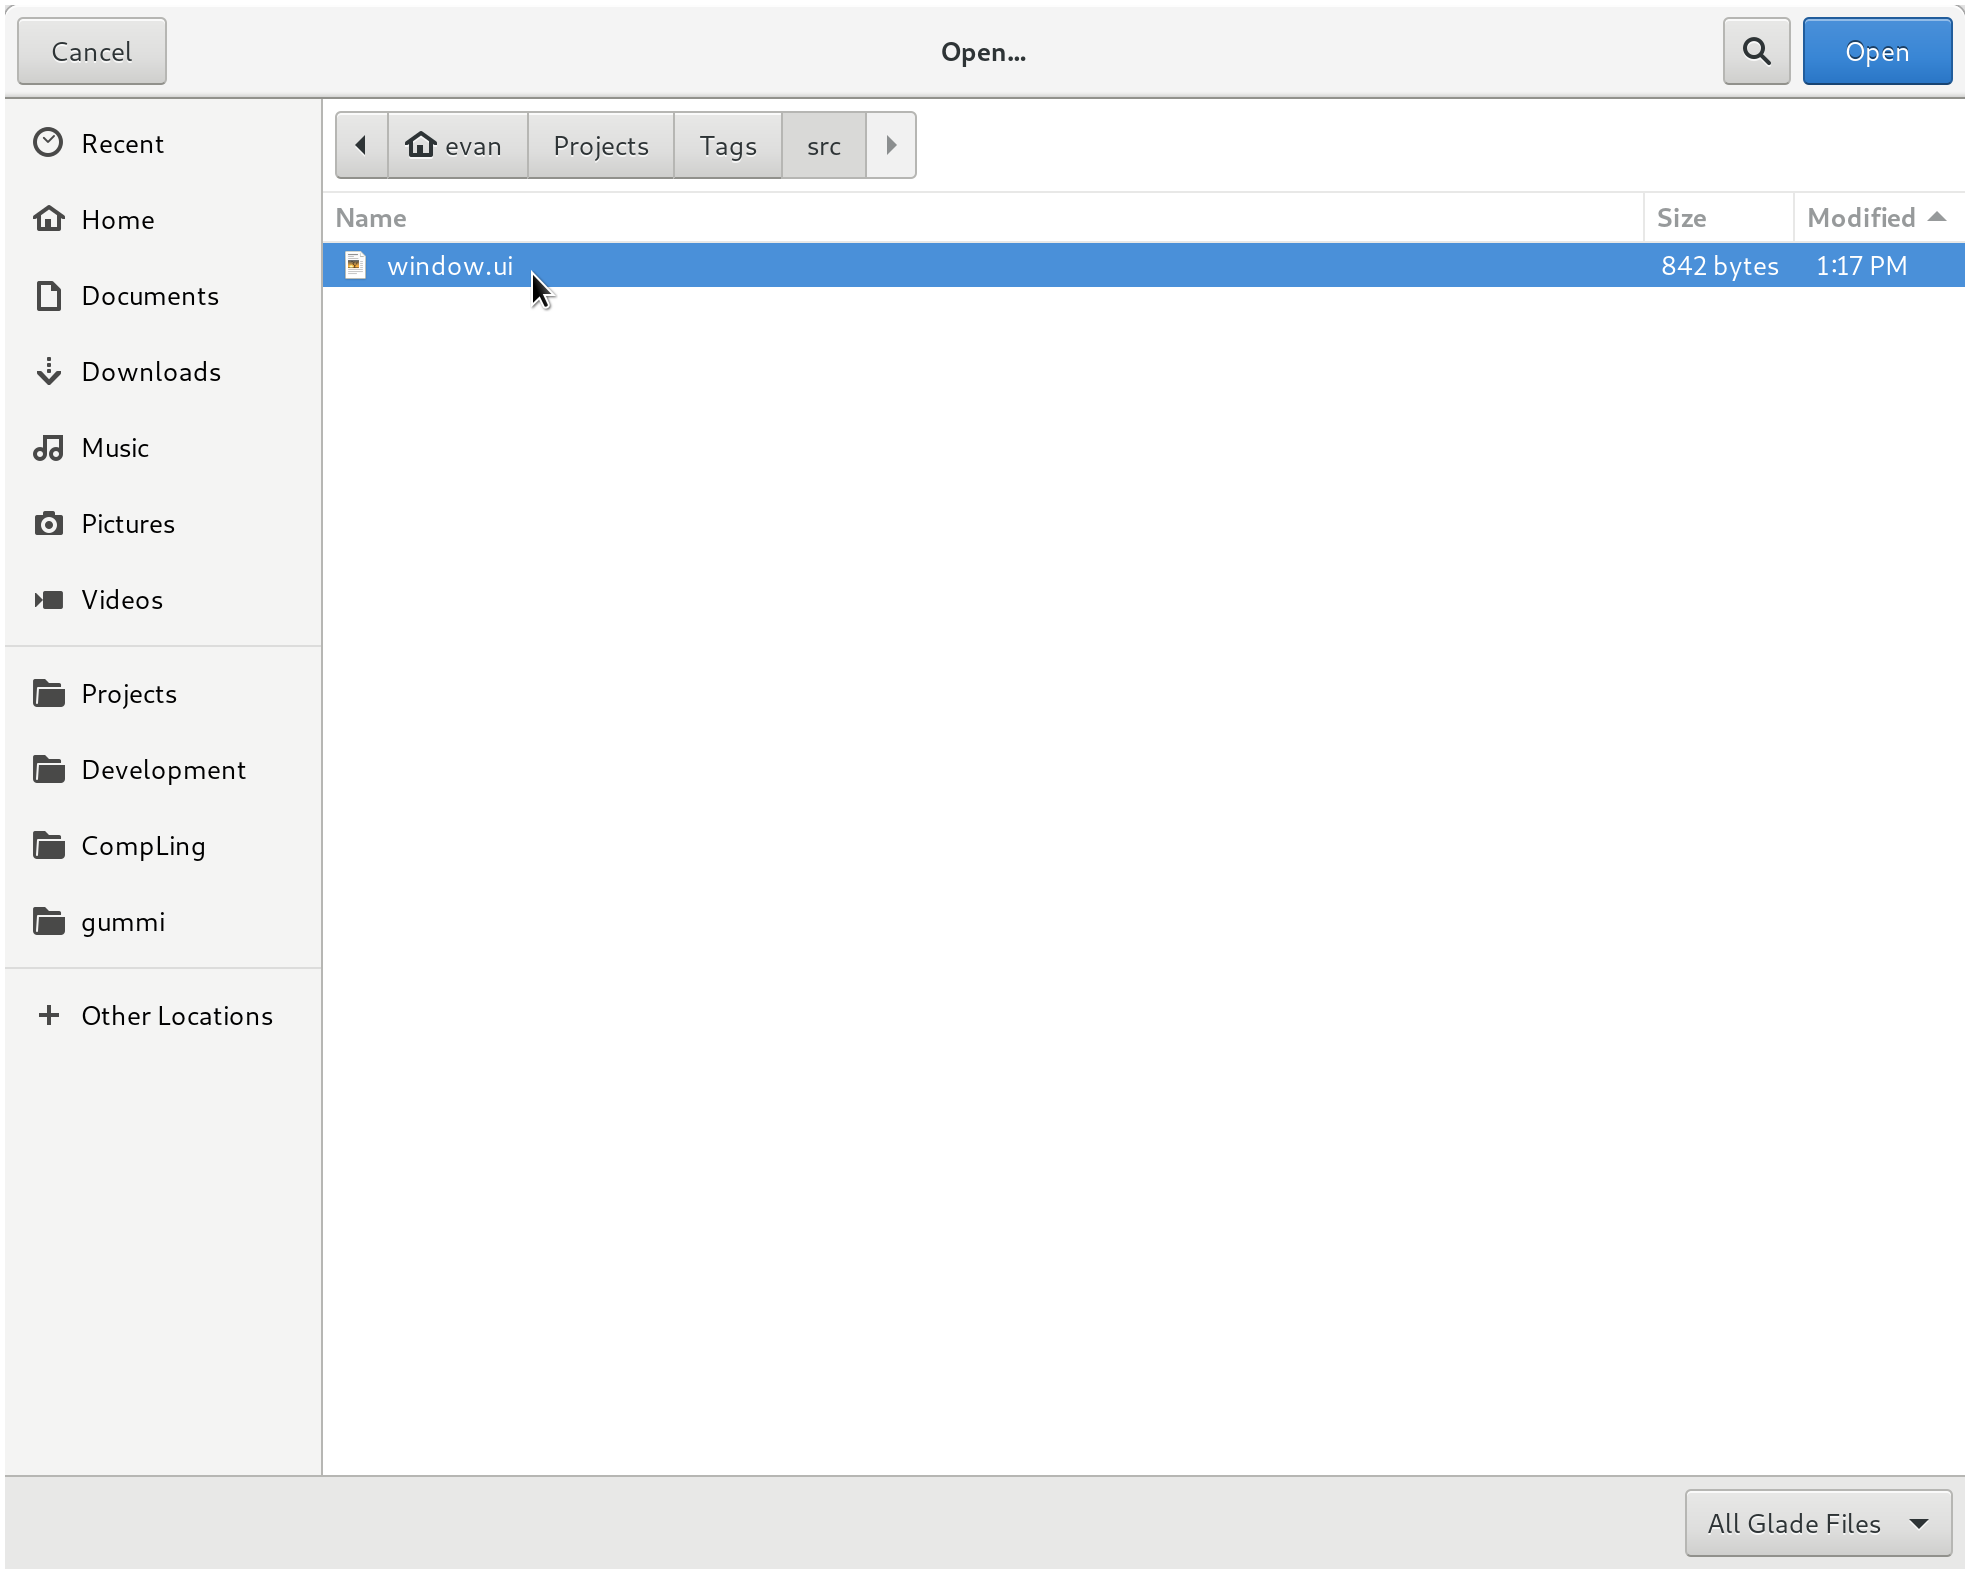
Your GNOME Builder project should contain a file named window.ui. We can use Glade to edit this file.
Using Glade
Open Glade, make sure you have version 3.22.x+ and not an outdated version. The newest version of Glade can be found on FlatHub here.
Once in Glade, open the UI file from your new project.
There it is!
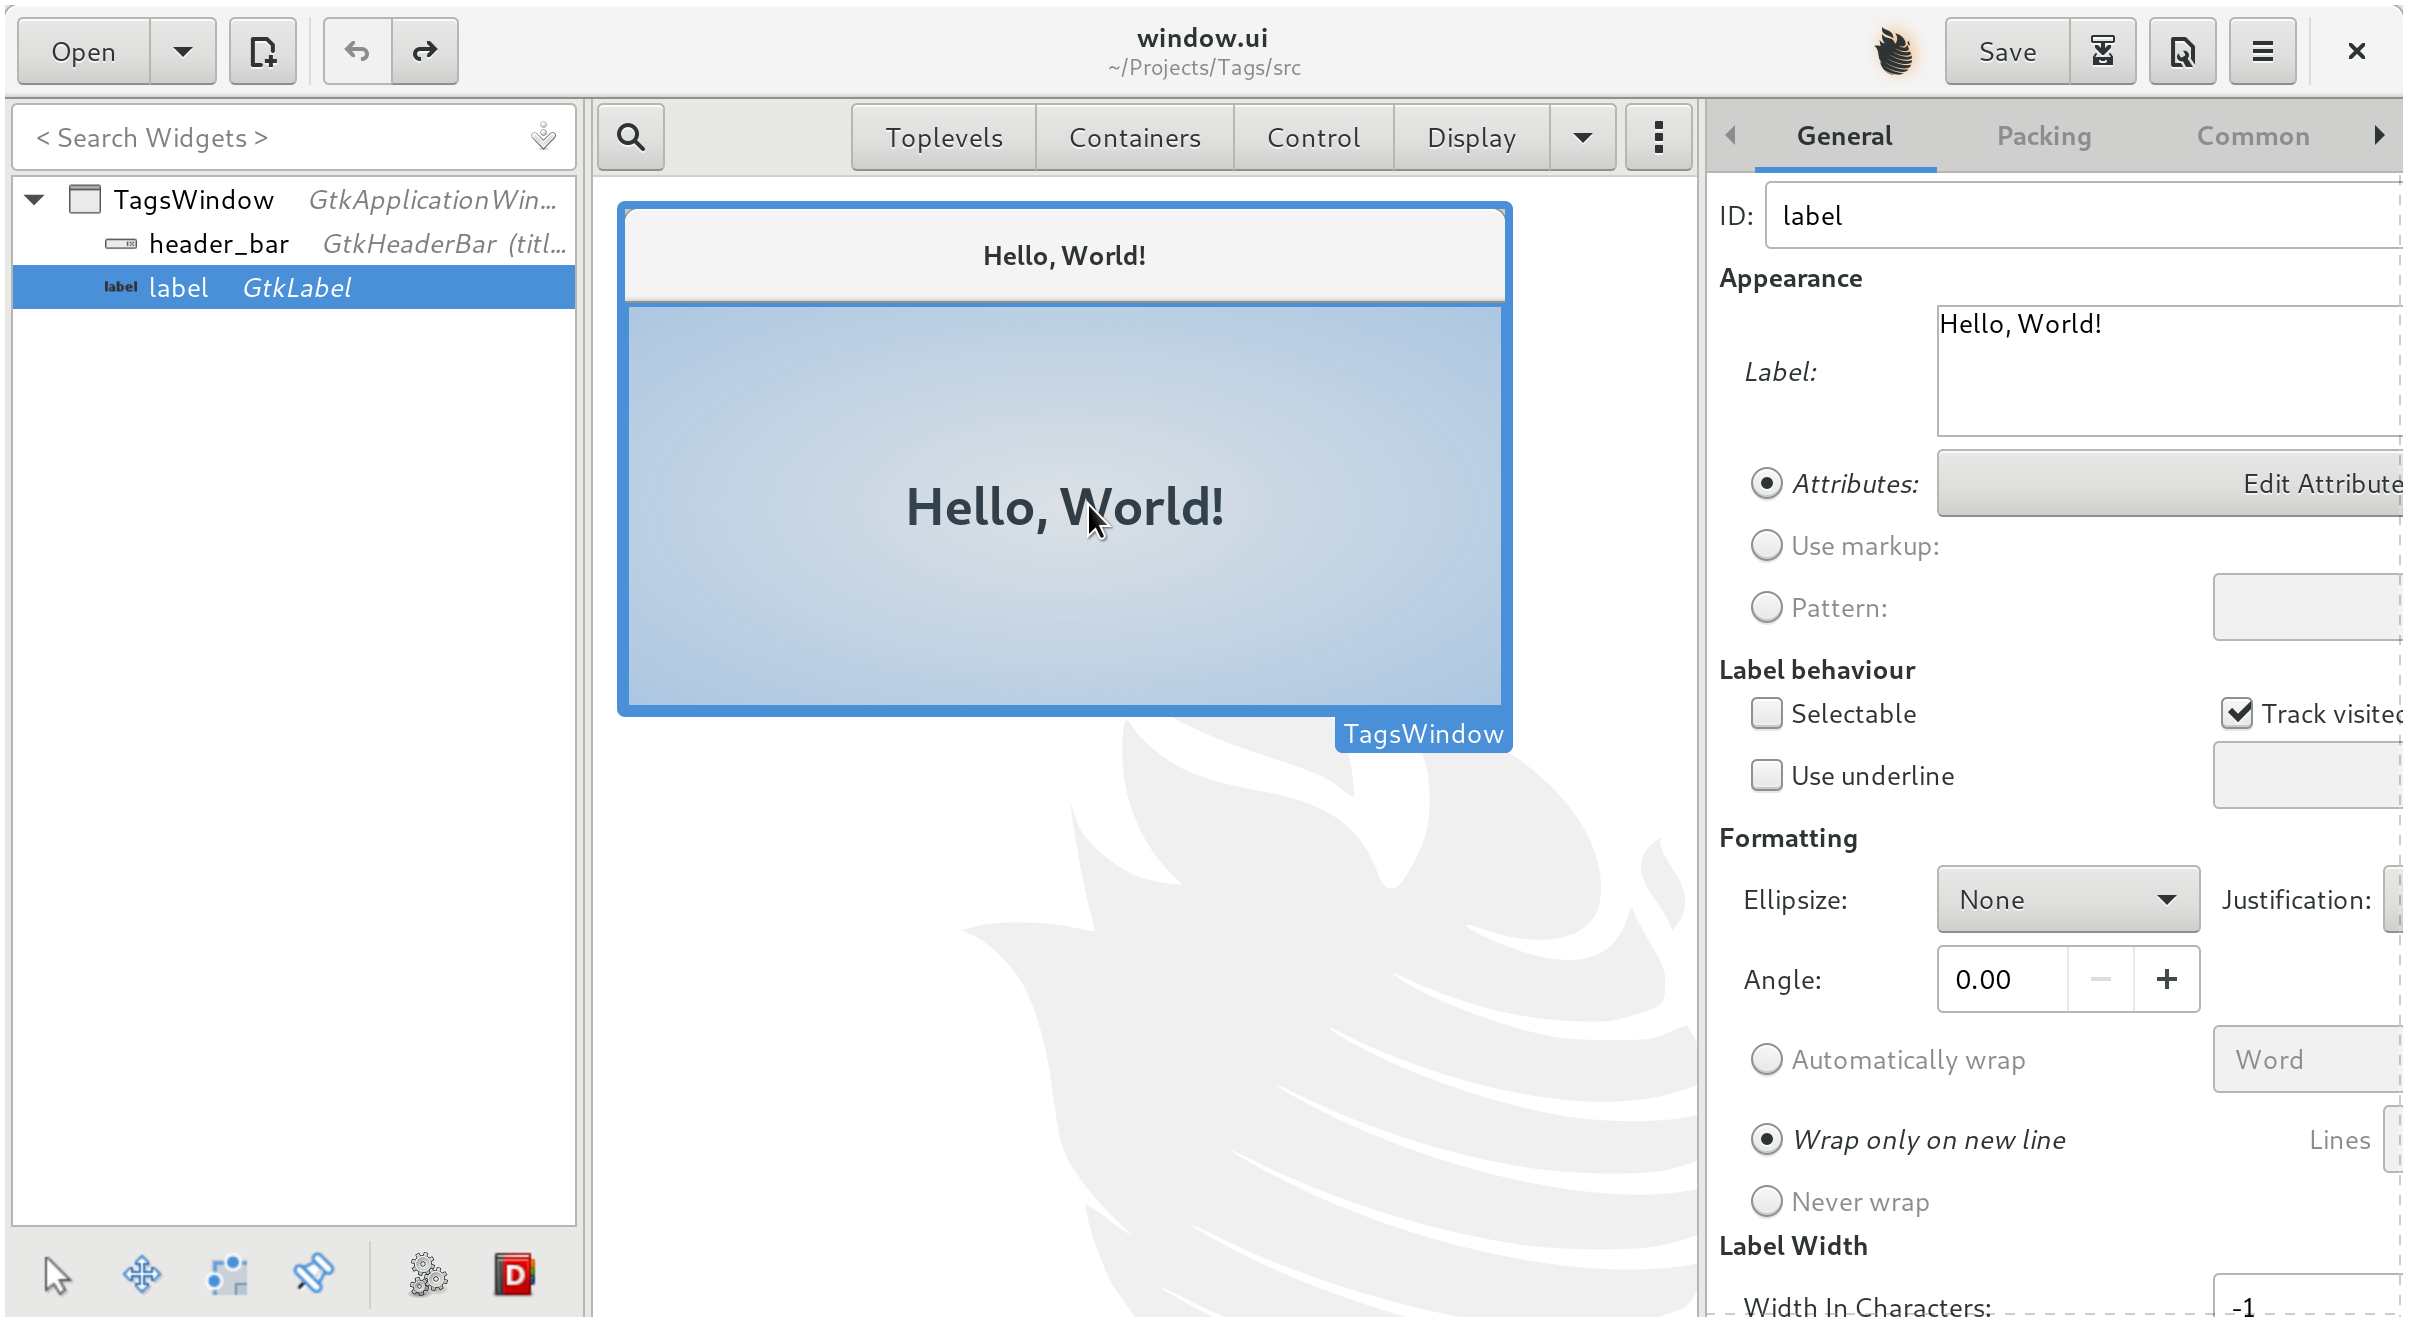
Once opened, you'll see a basic Hello, World! application. Right click on the GtkLabel and click delete.
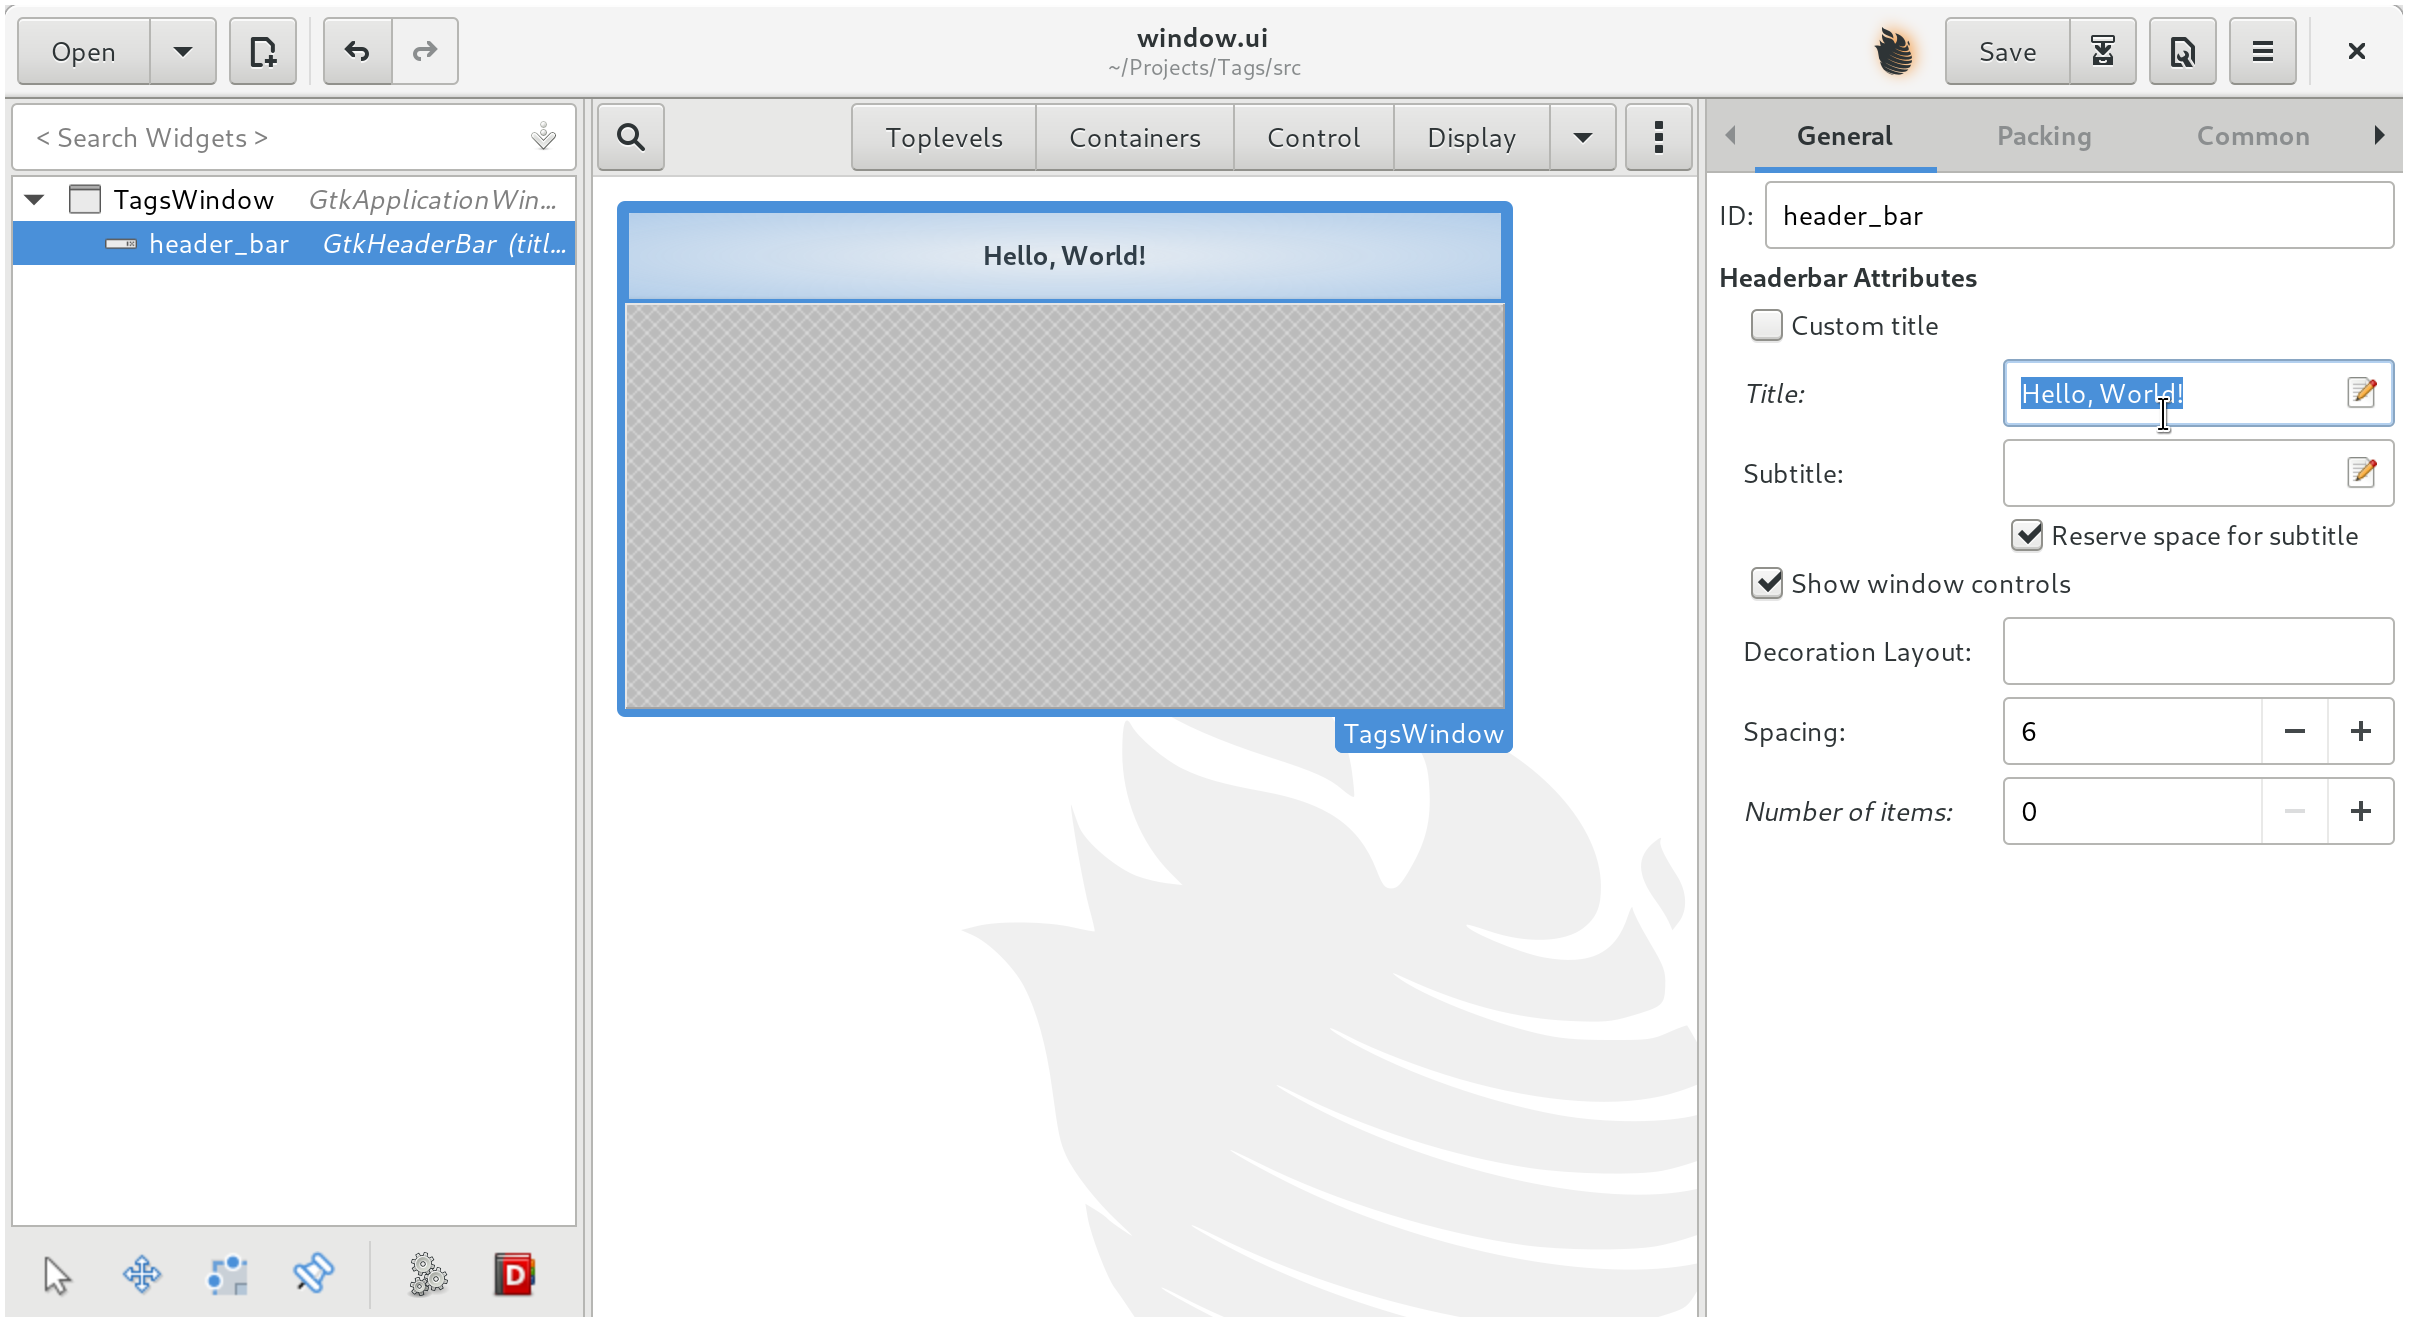
You should now have a window that looks like this.

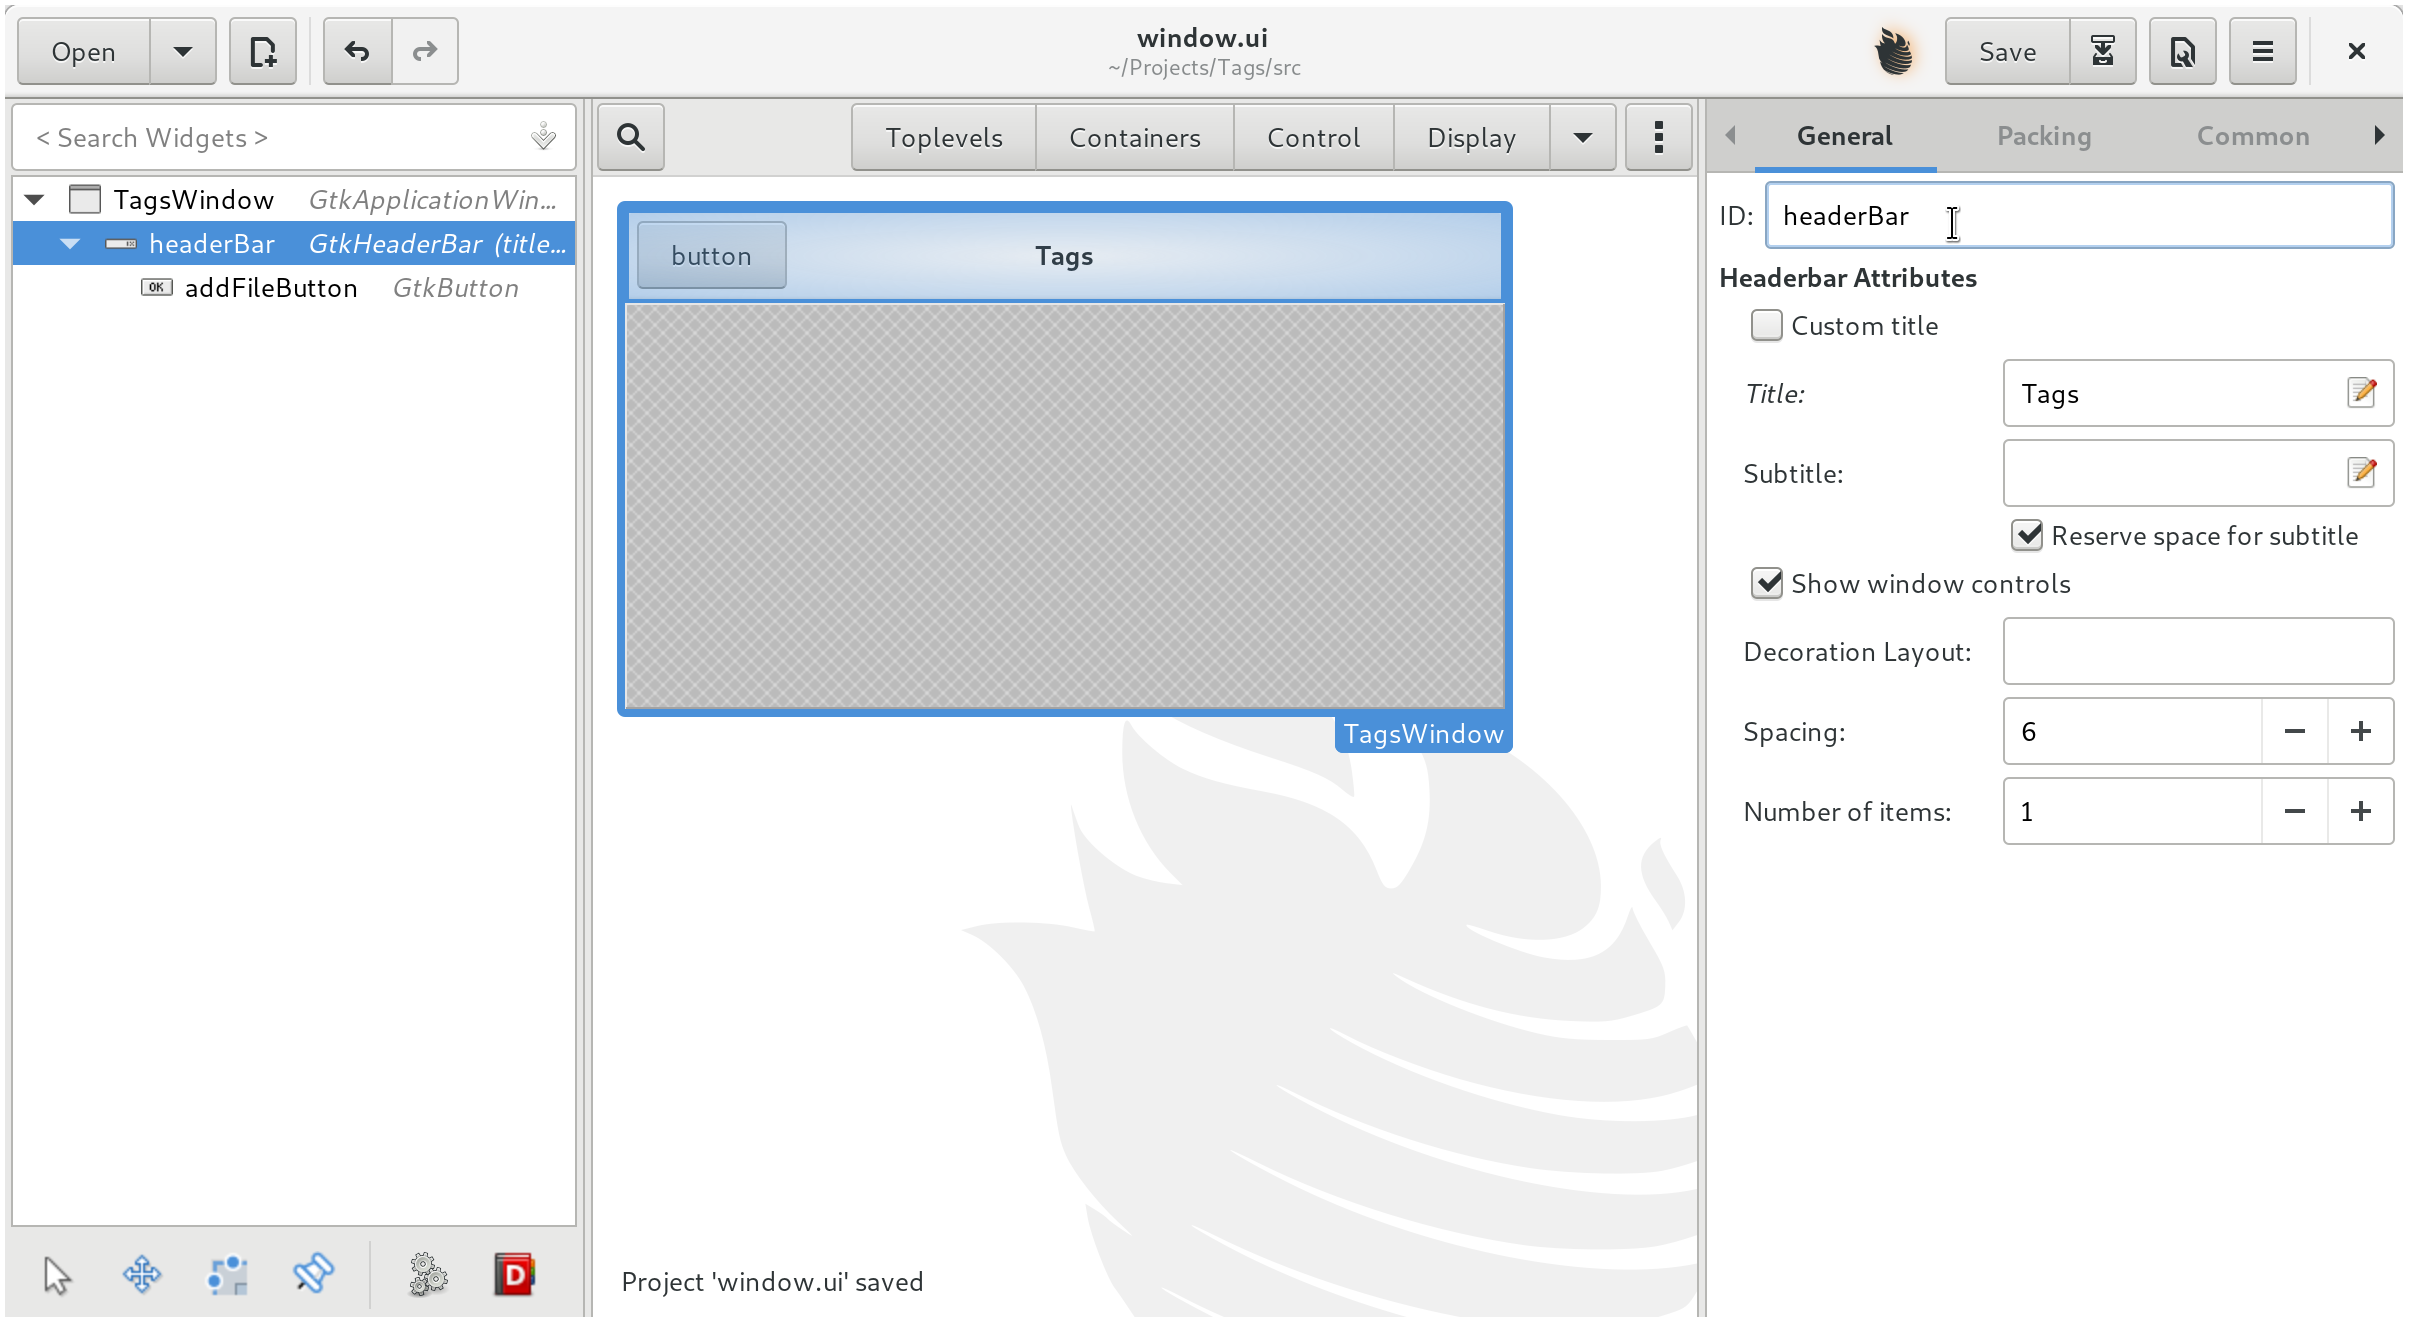
Select the header bar and rename the title to whatever your application is called (we chose 'Tags' randomly)
Adding a button to the header bar...
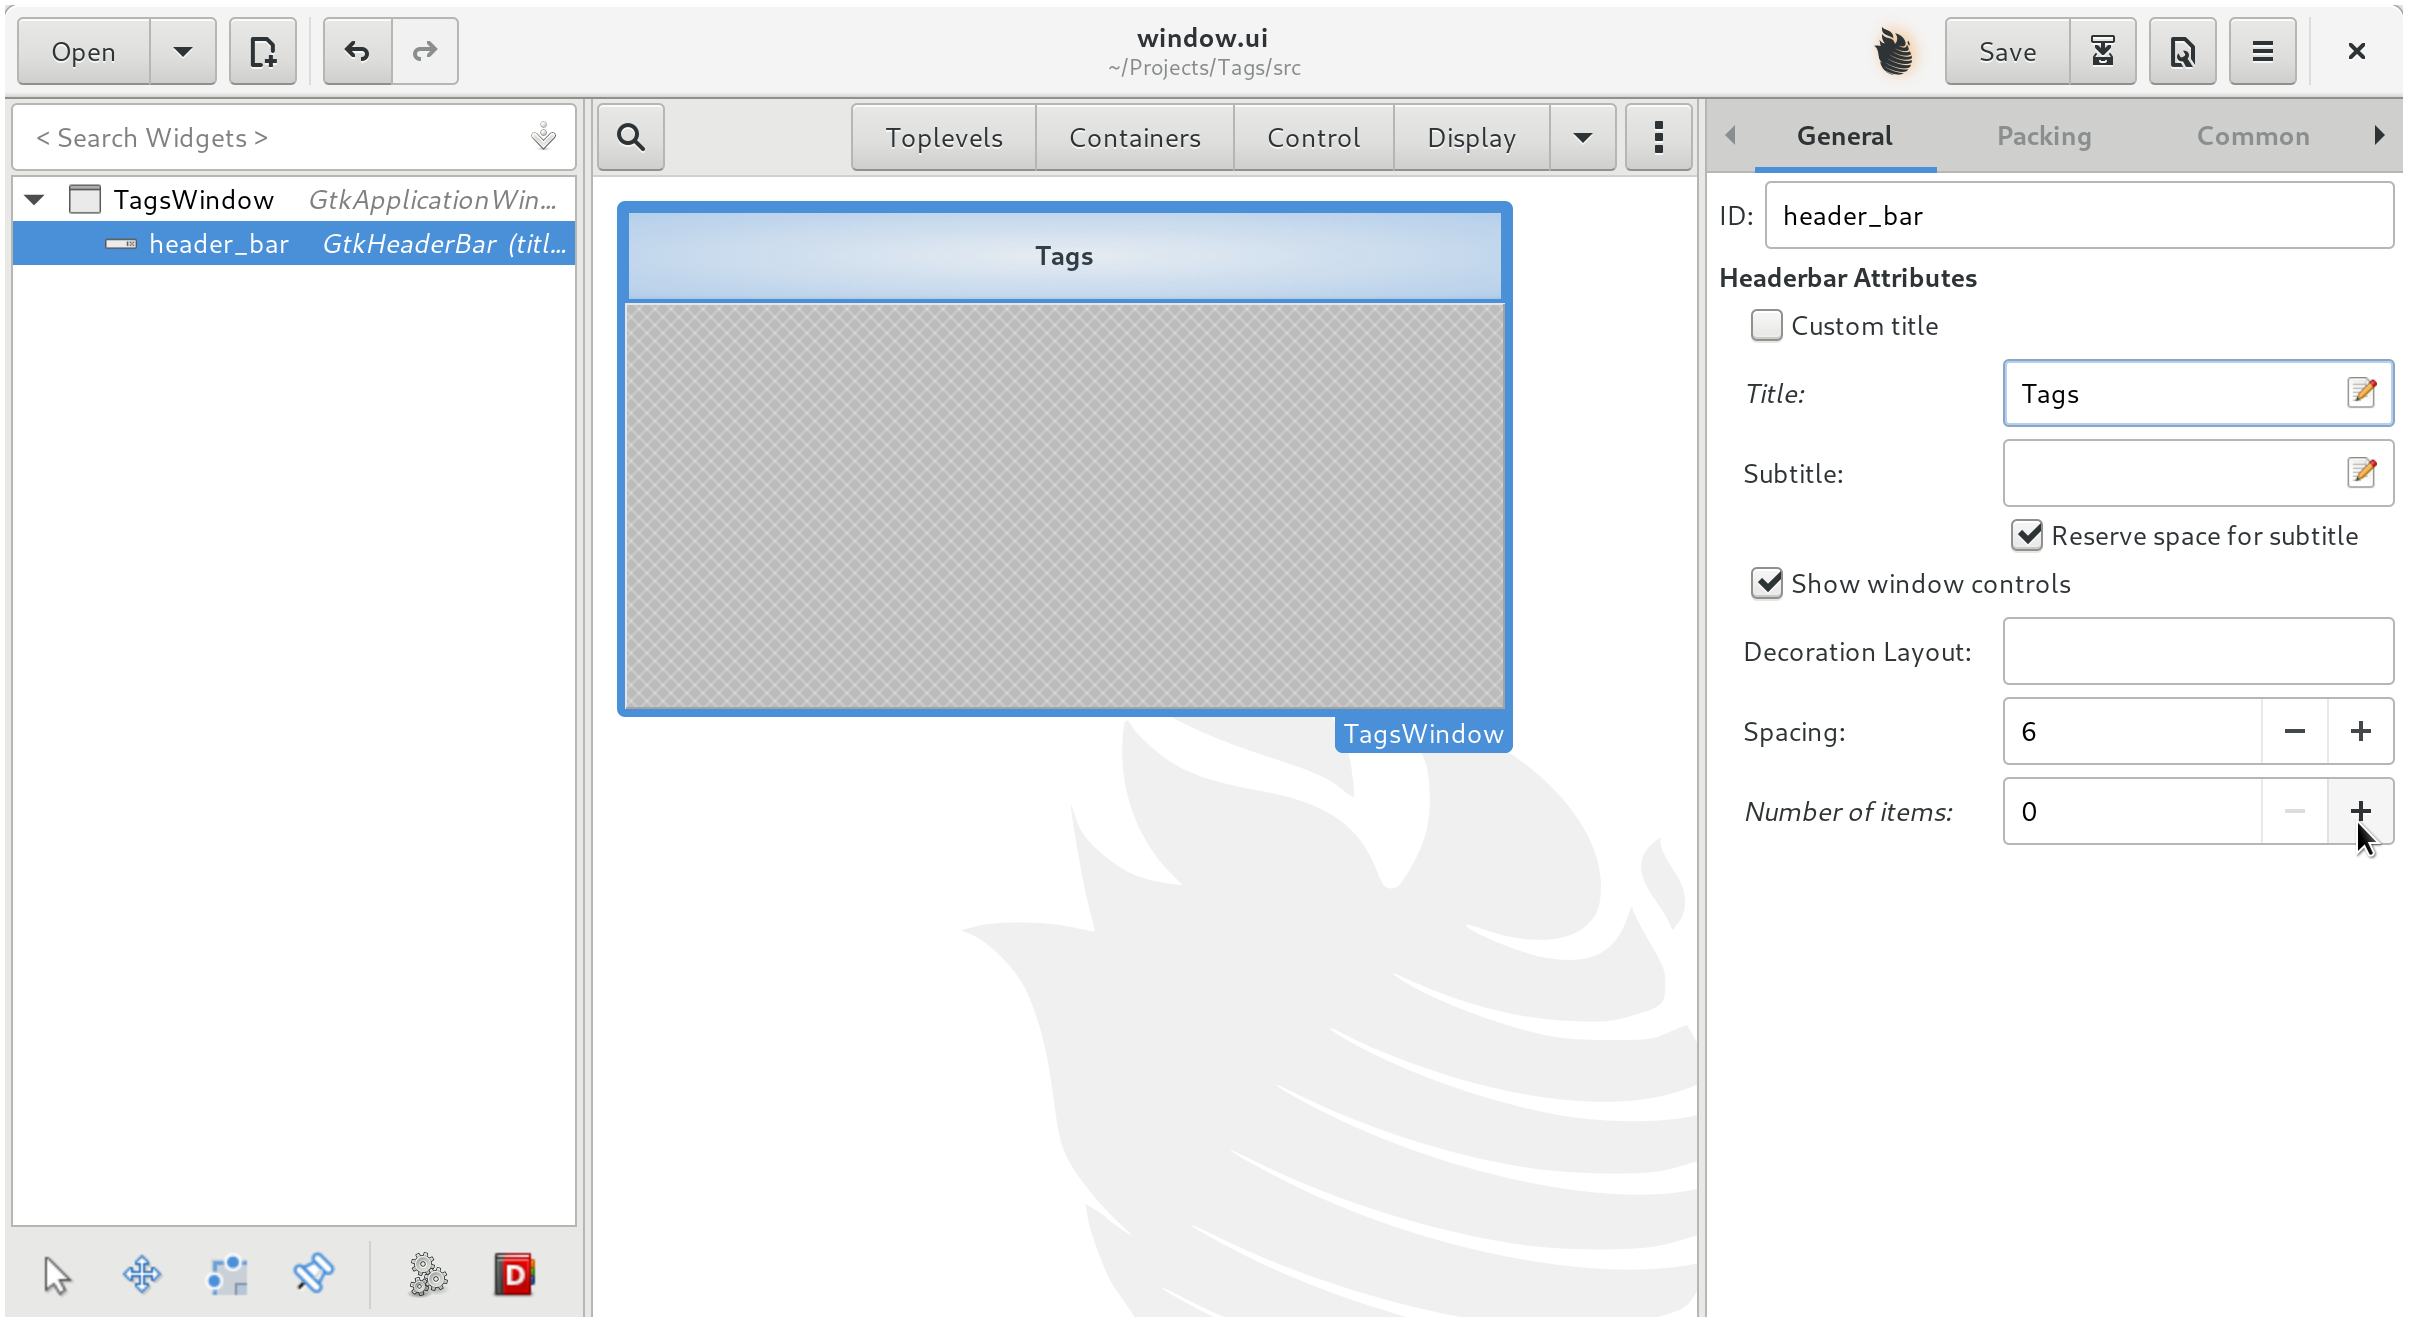
To add a button to the header bar locate Number of items in the General section of the header bar's properties.
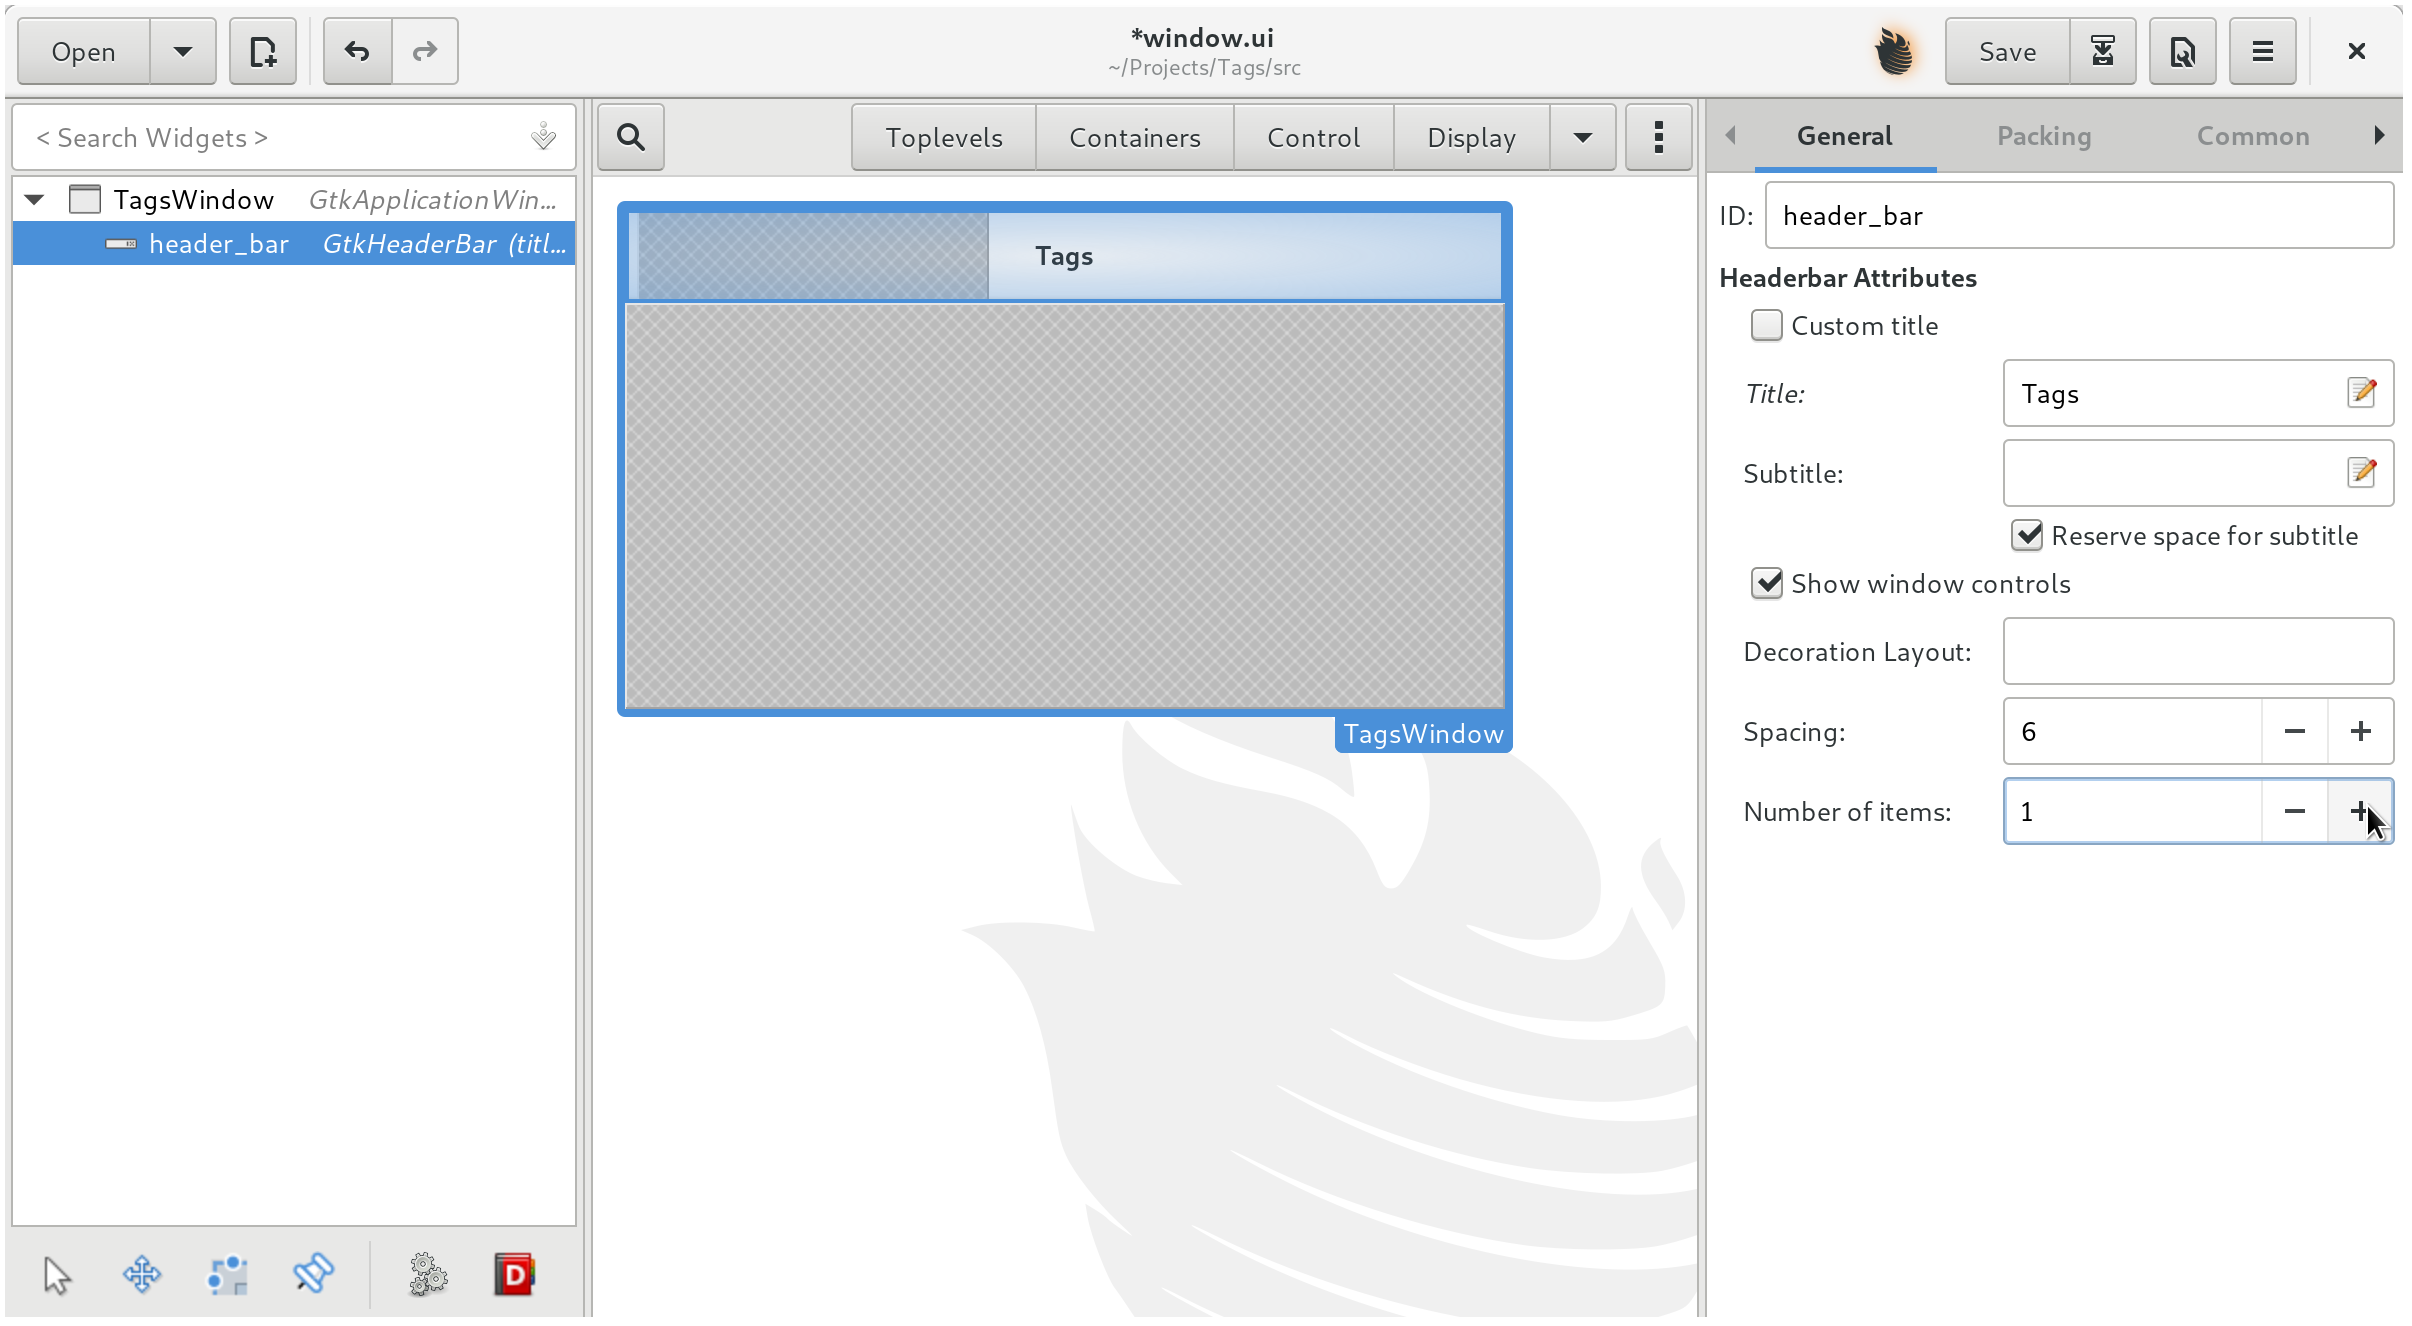
Increase the number to 1.
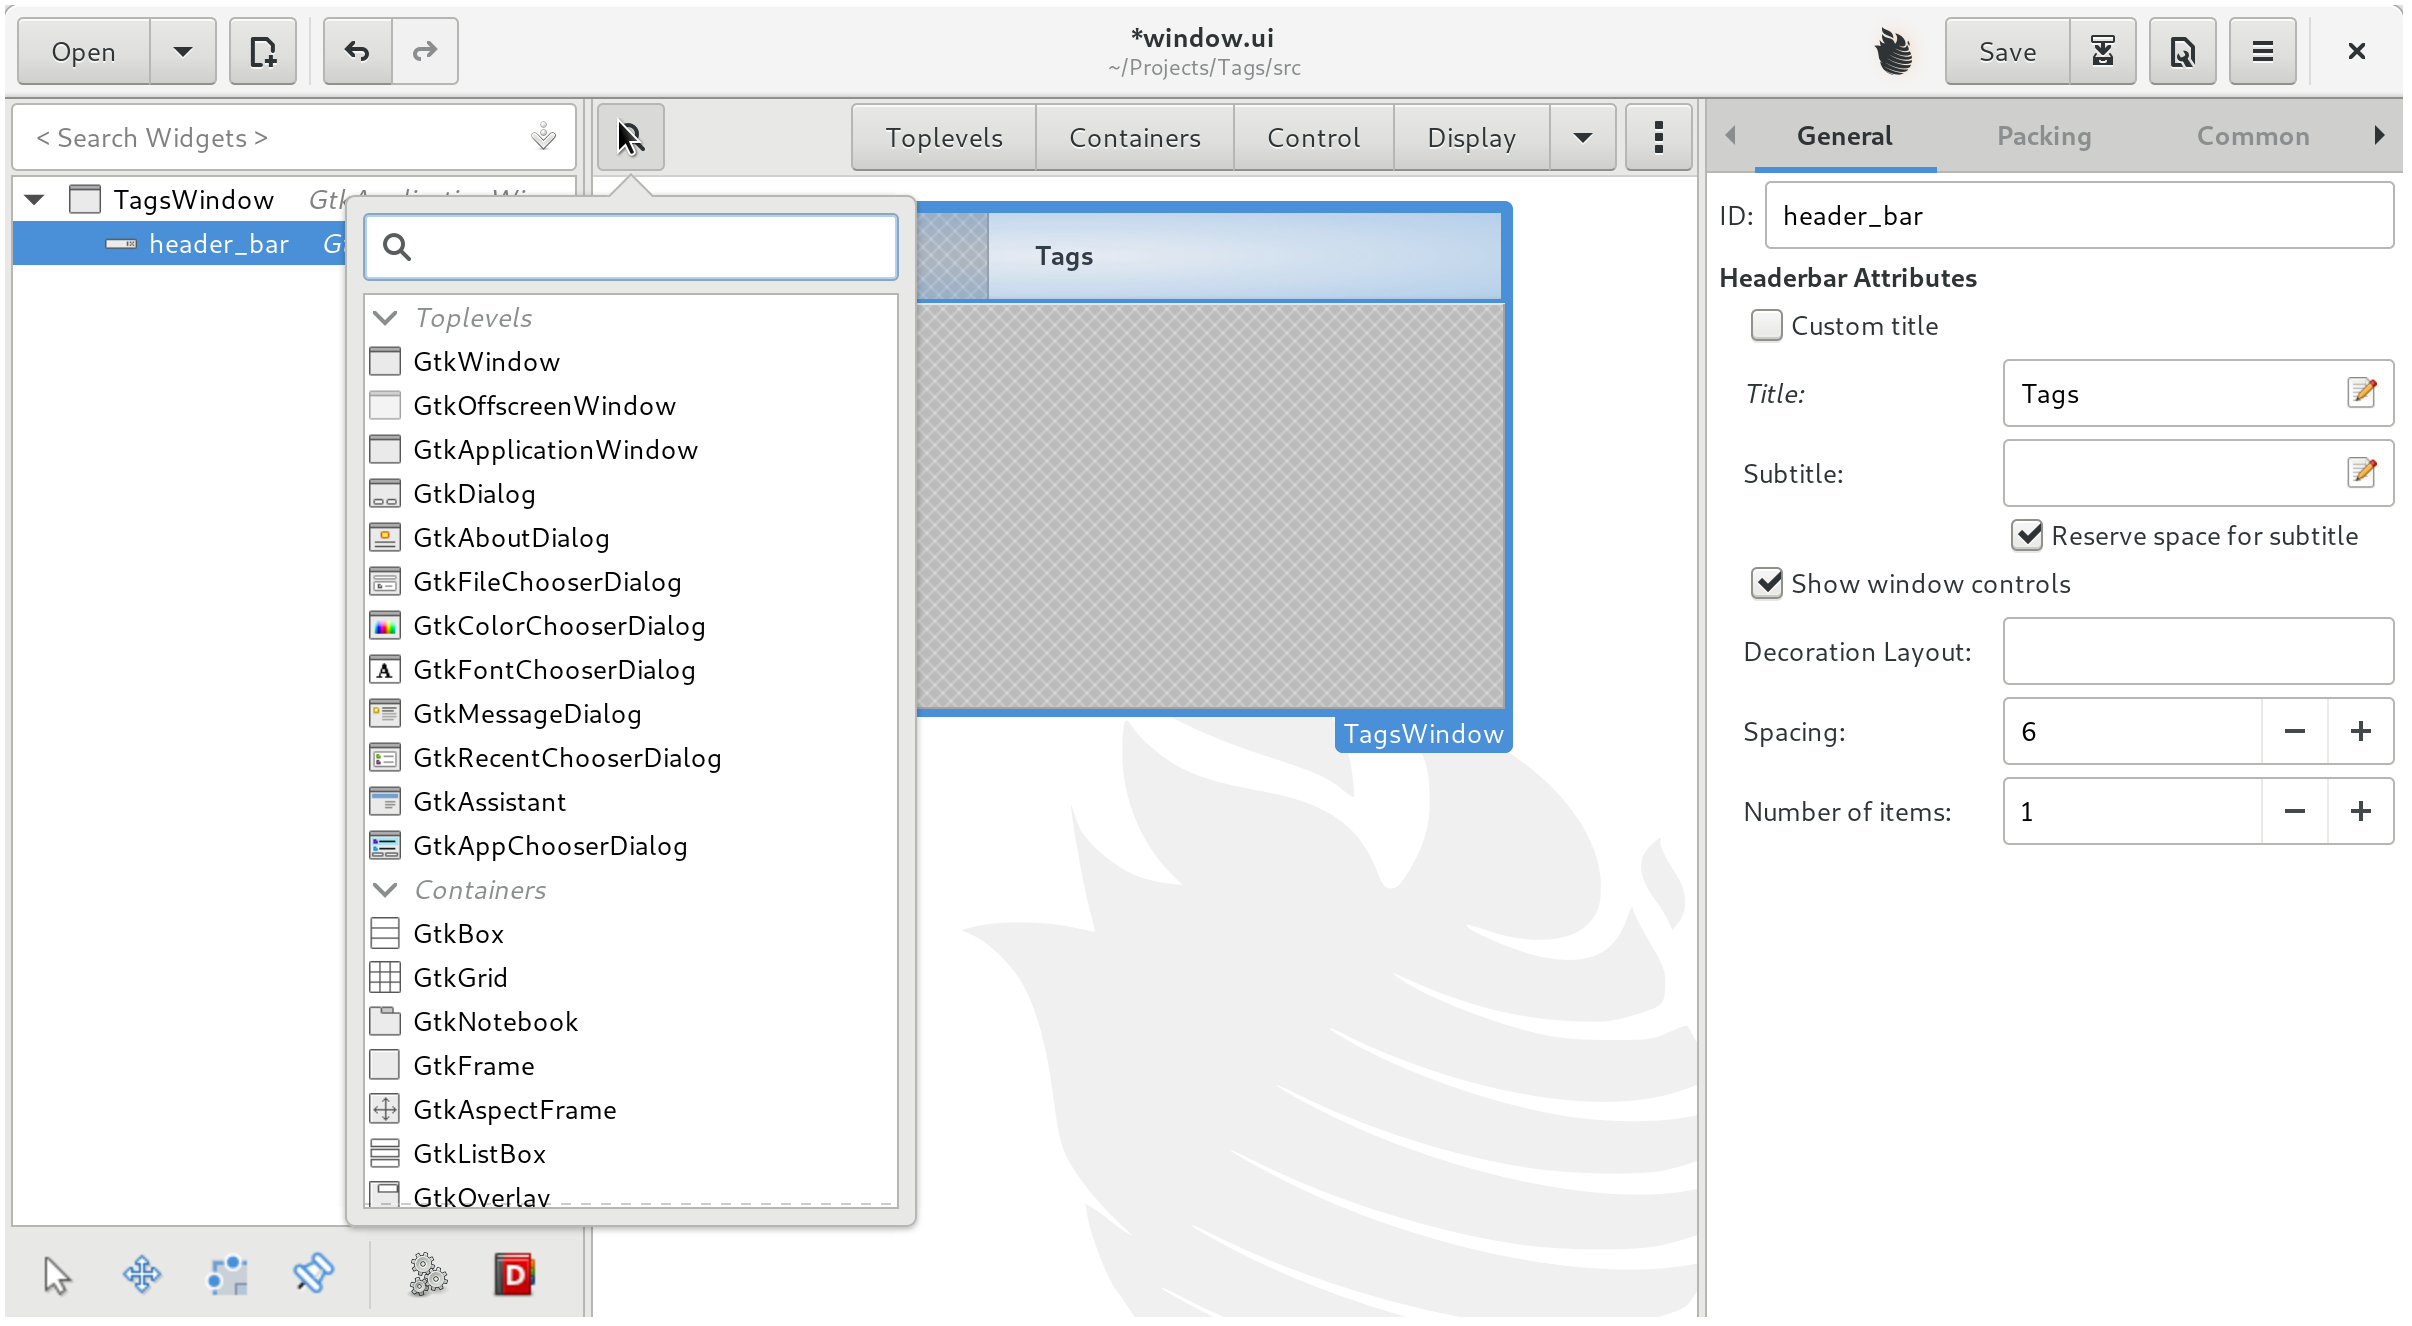
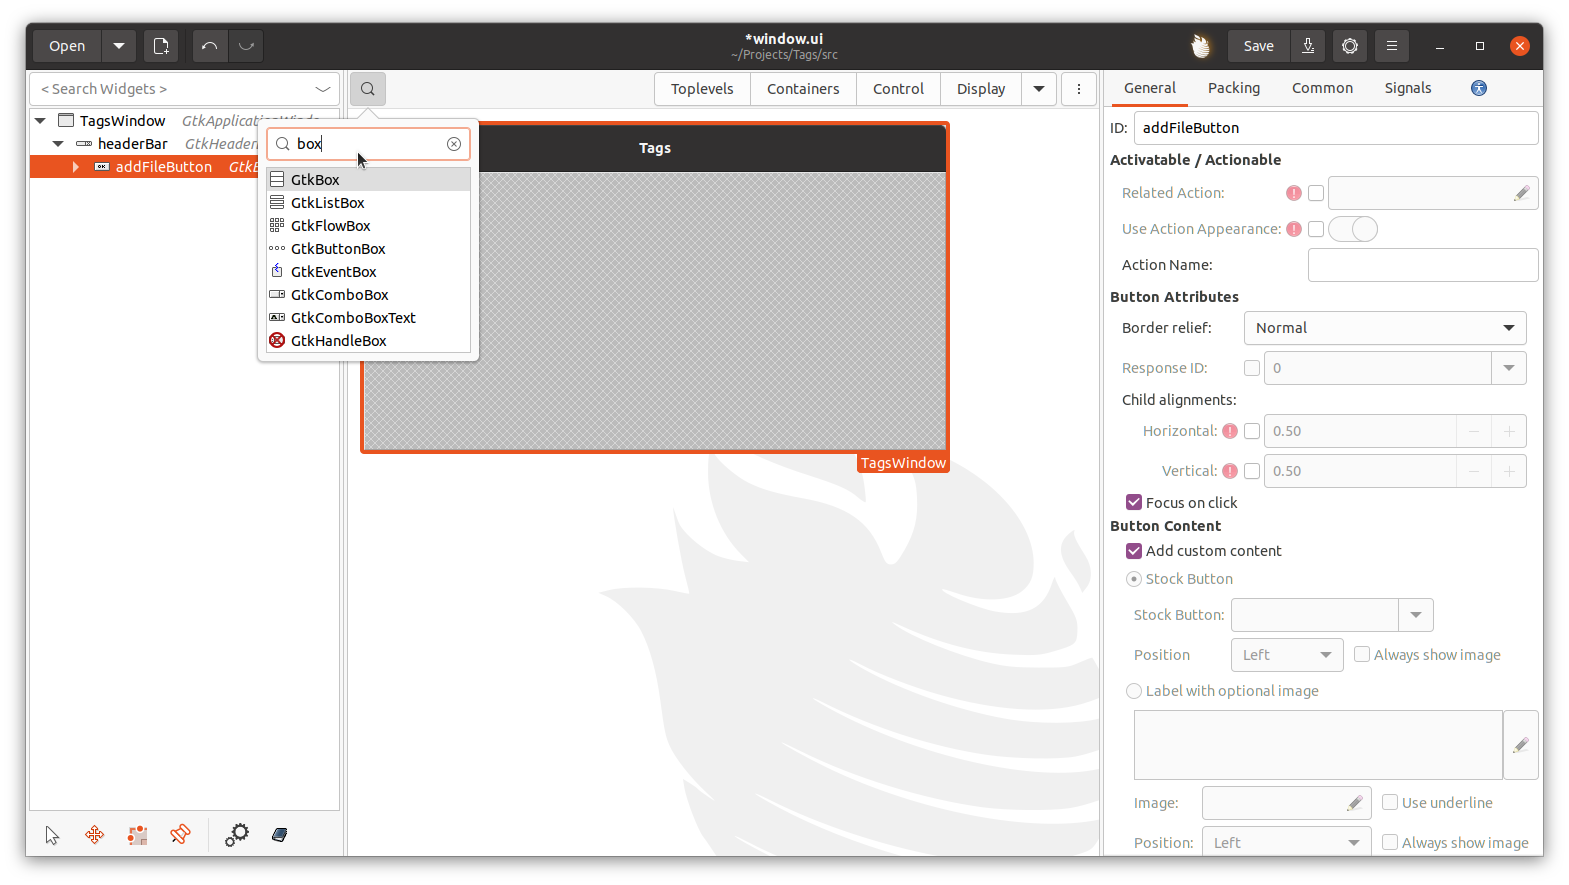
Now let's find a button.
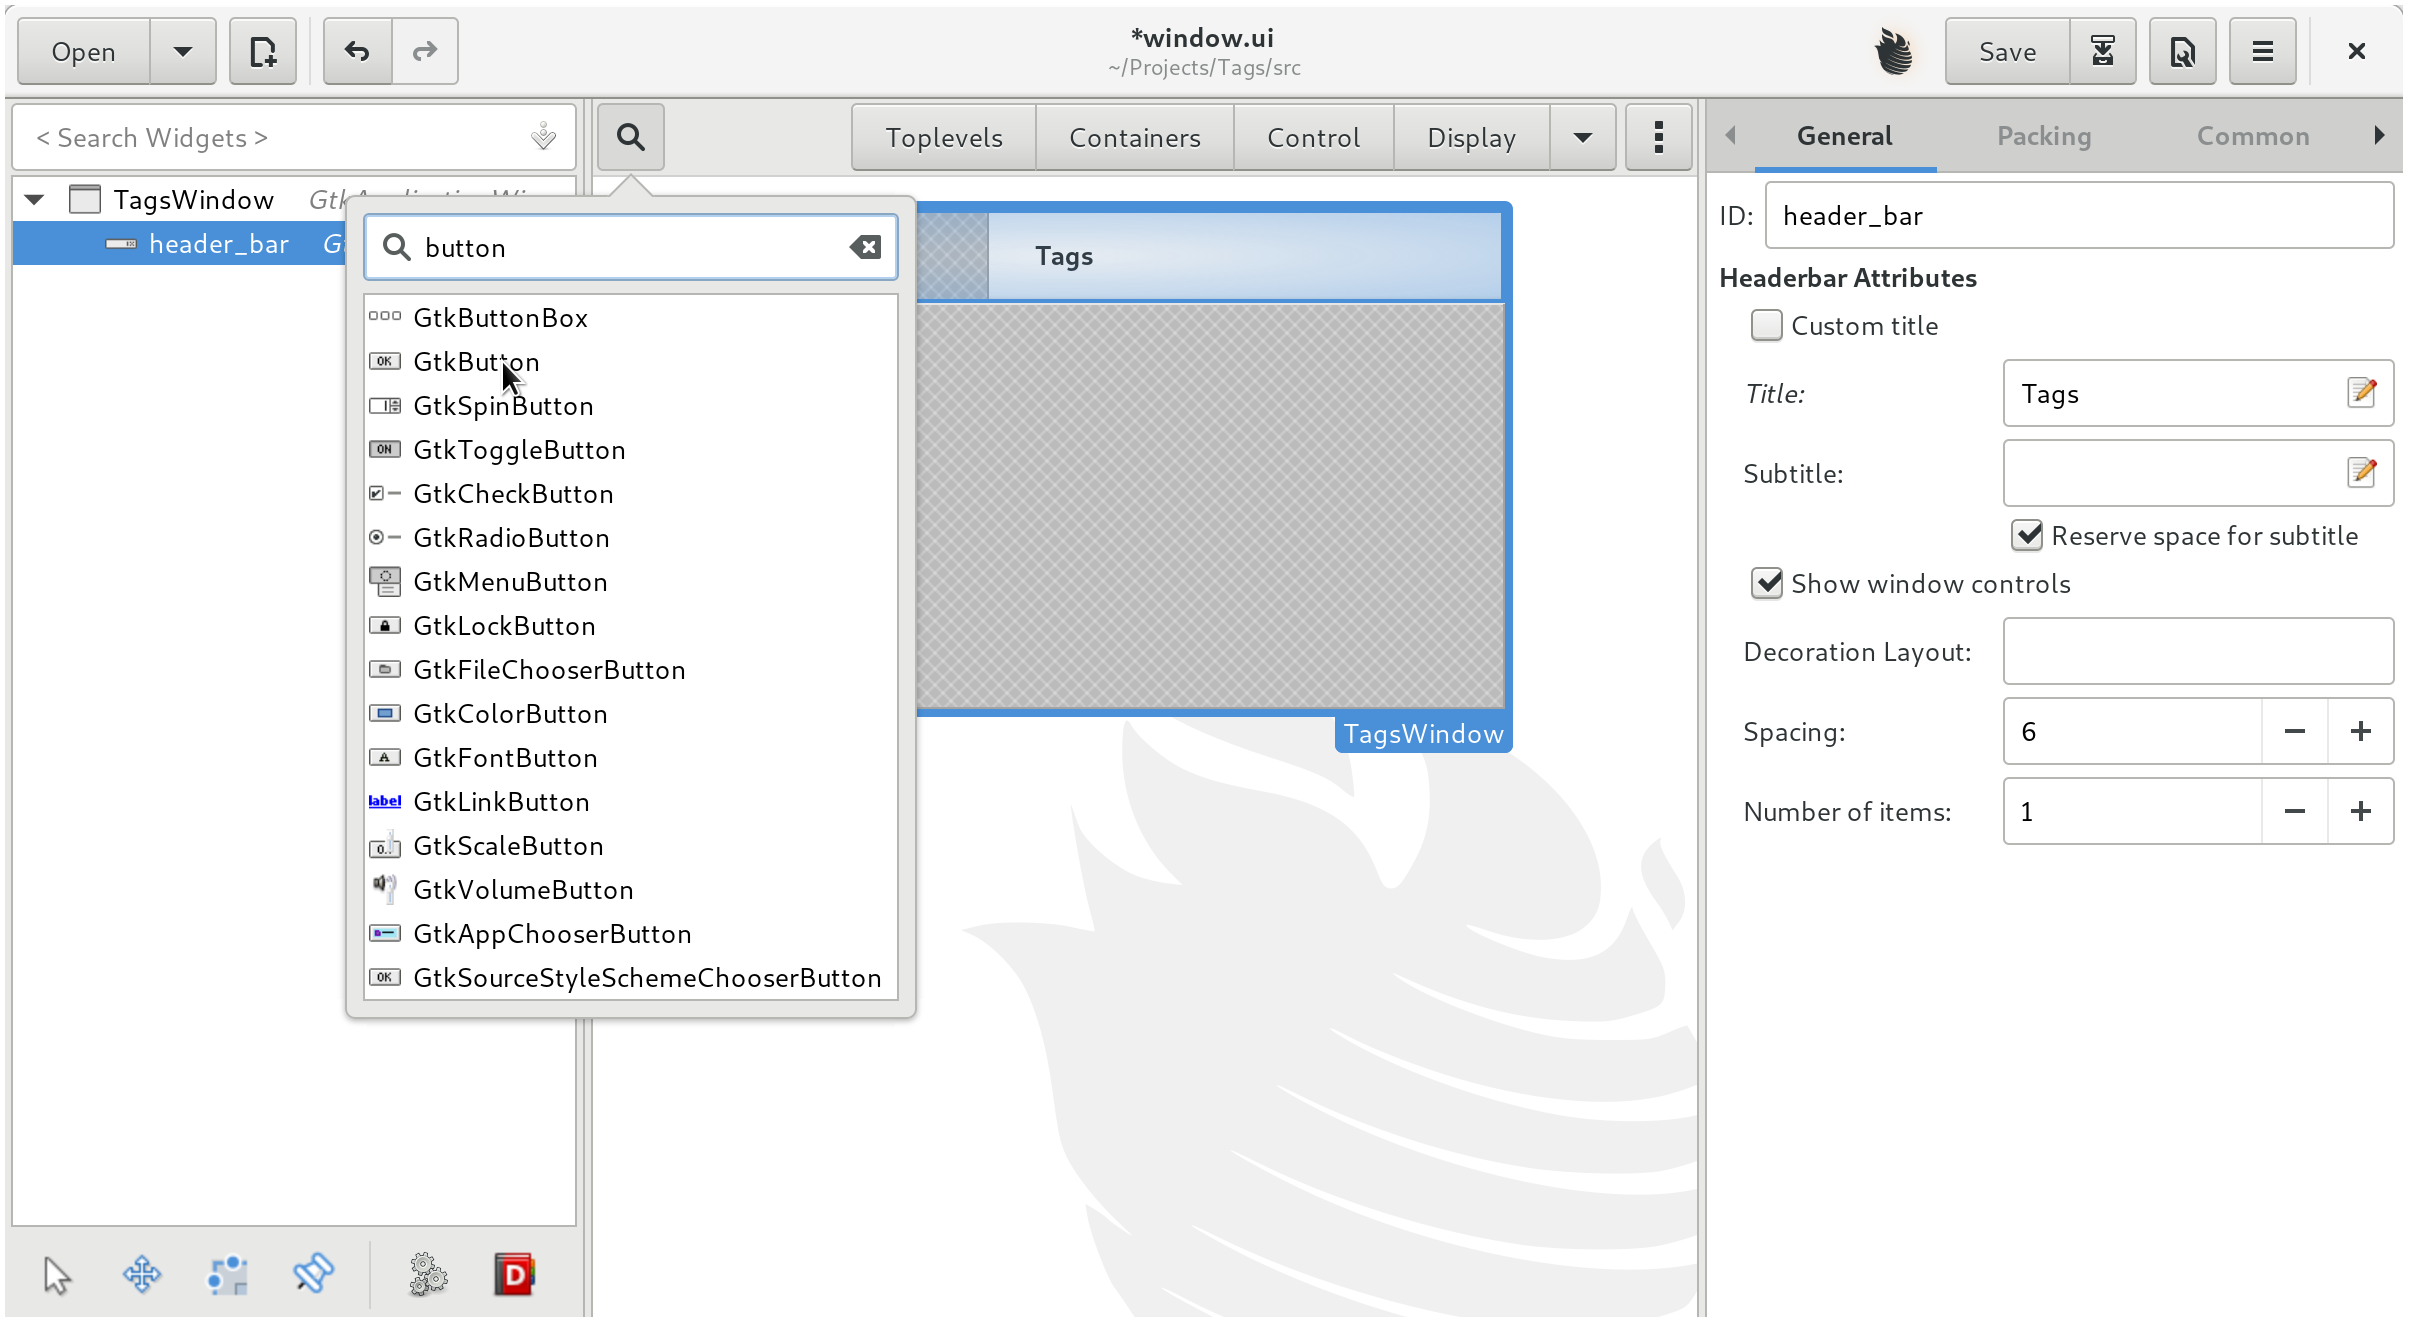
There it is! Select GtkButton.
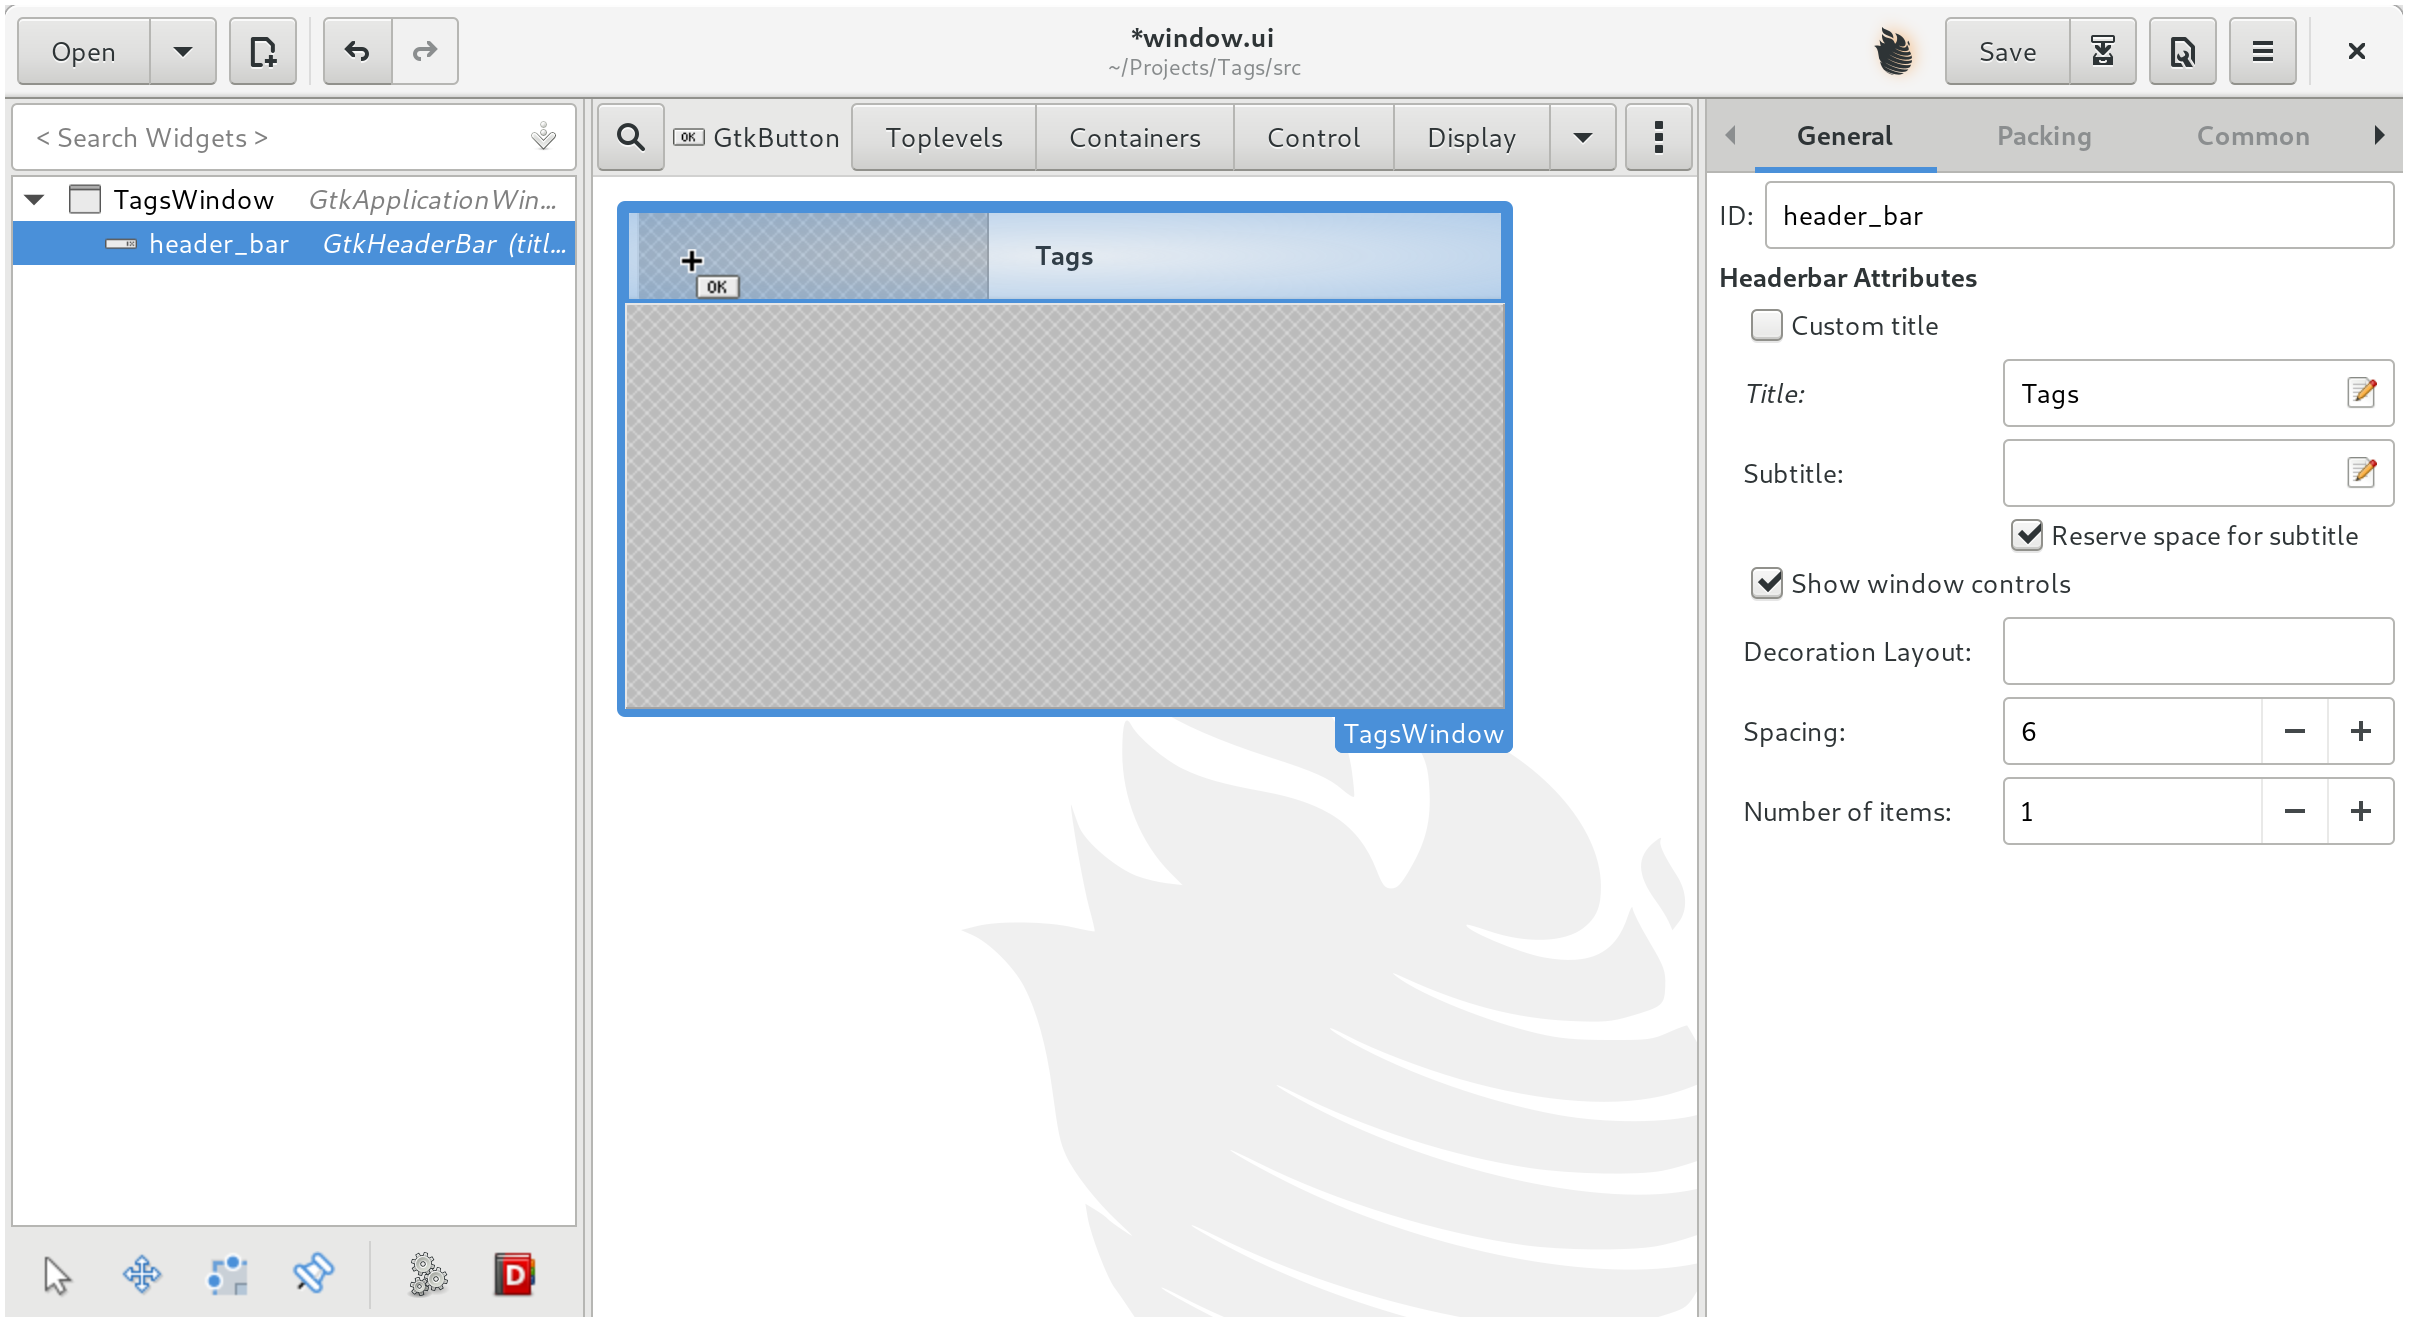
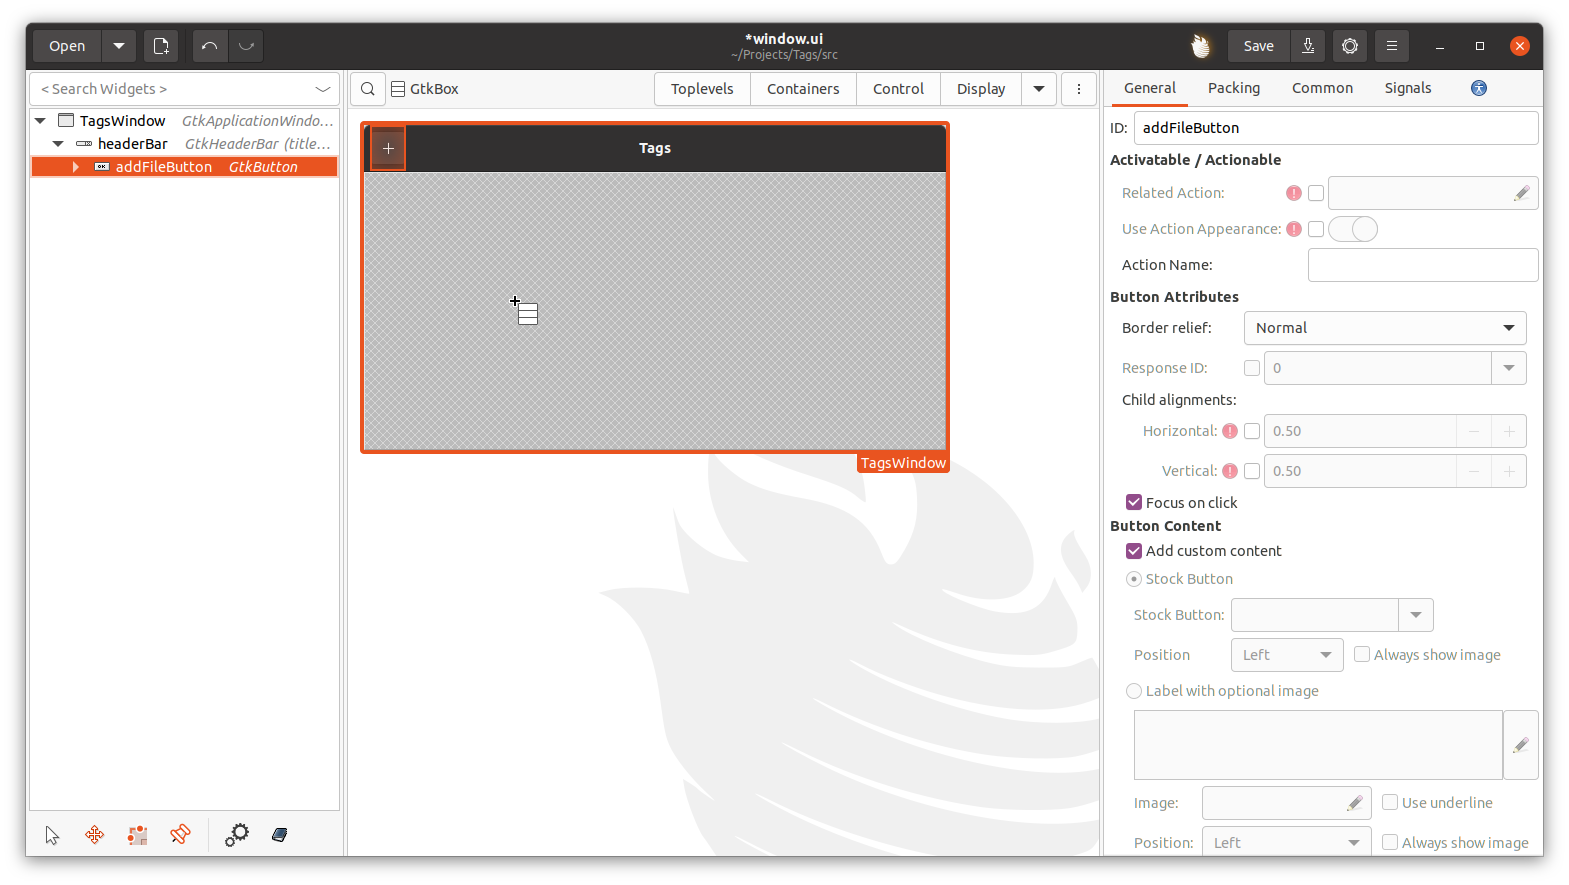
Now anywhere we click a button will be placed.
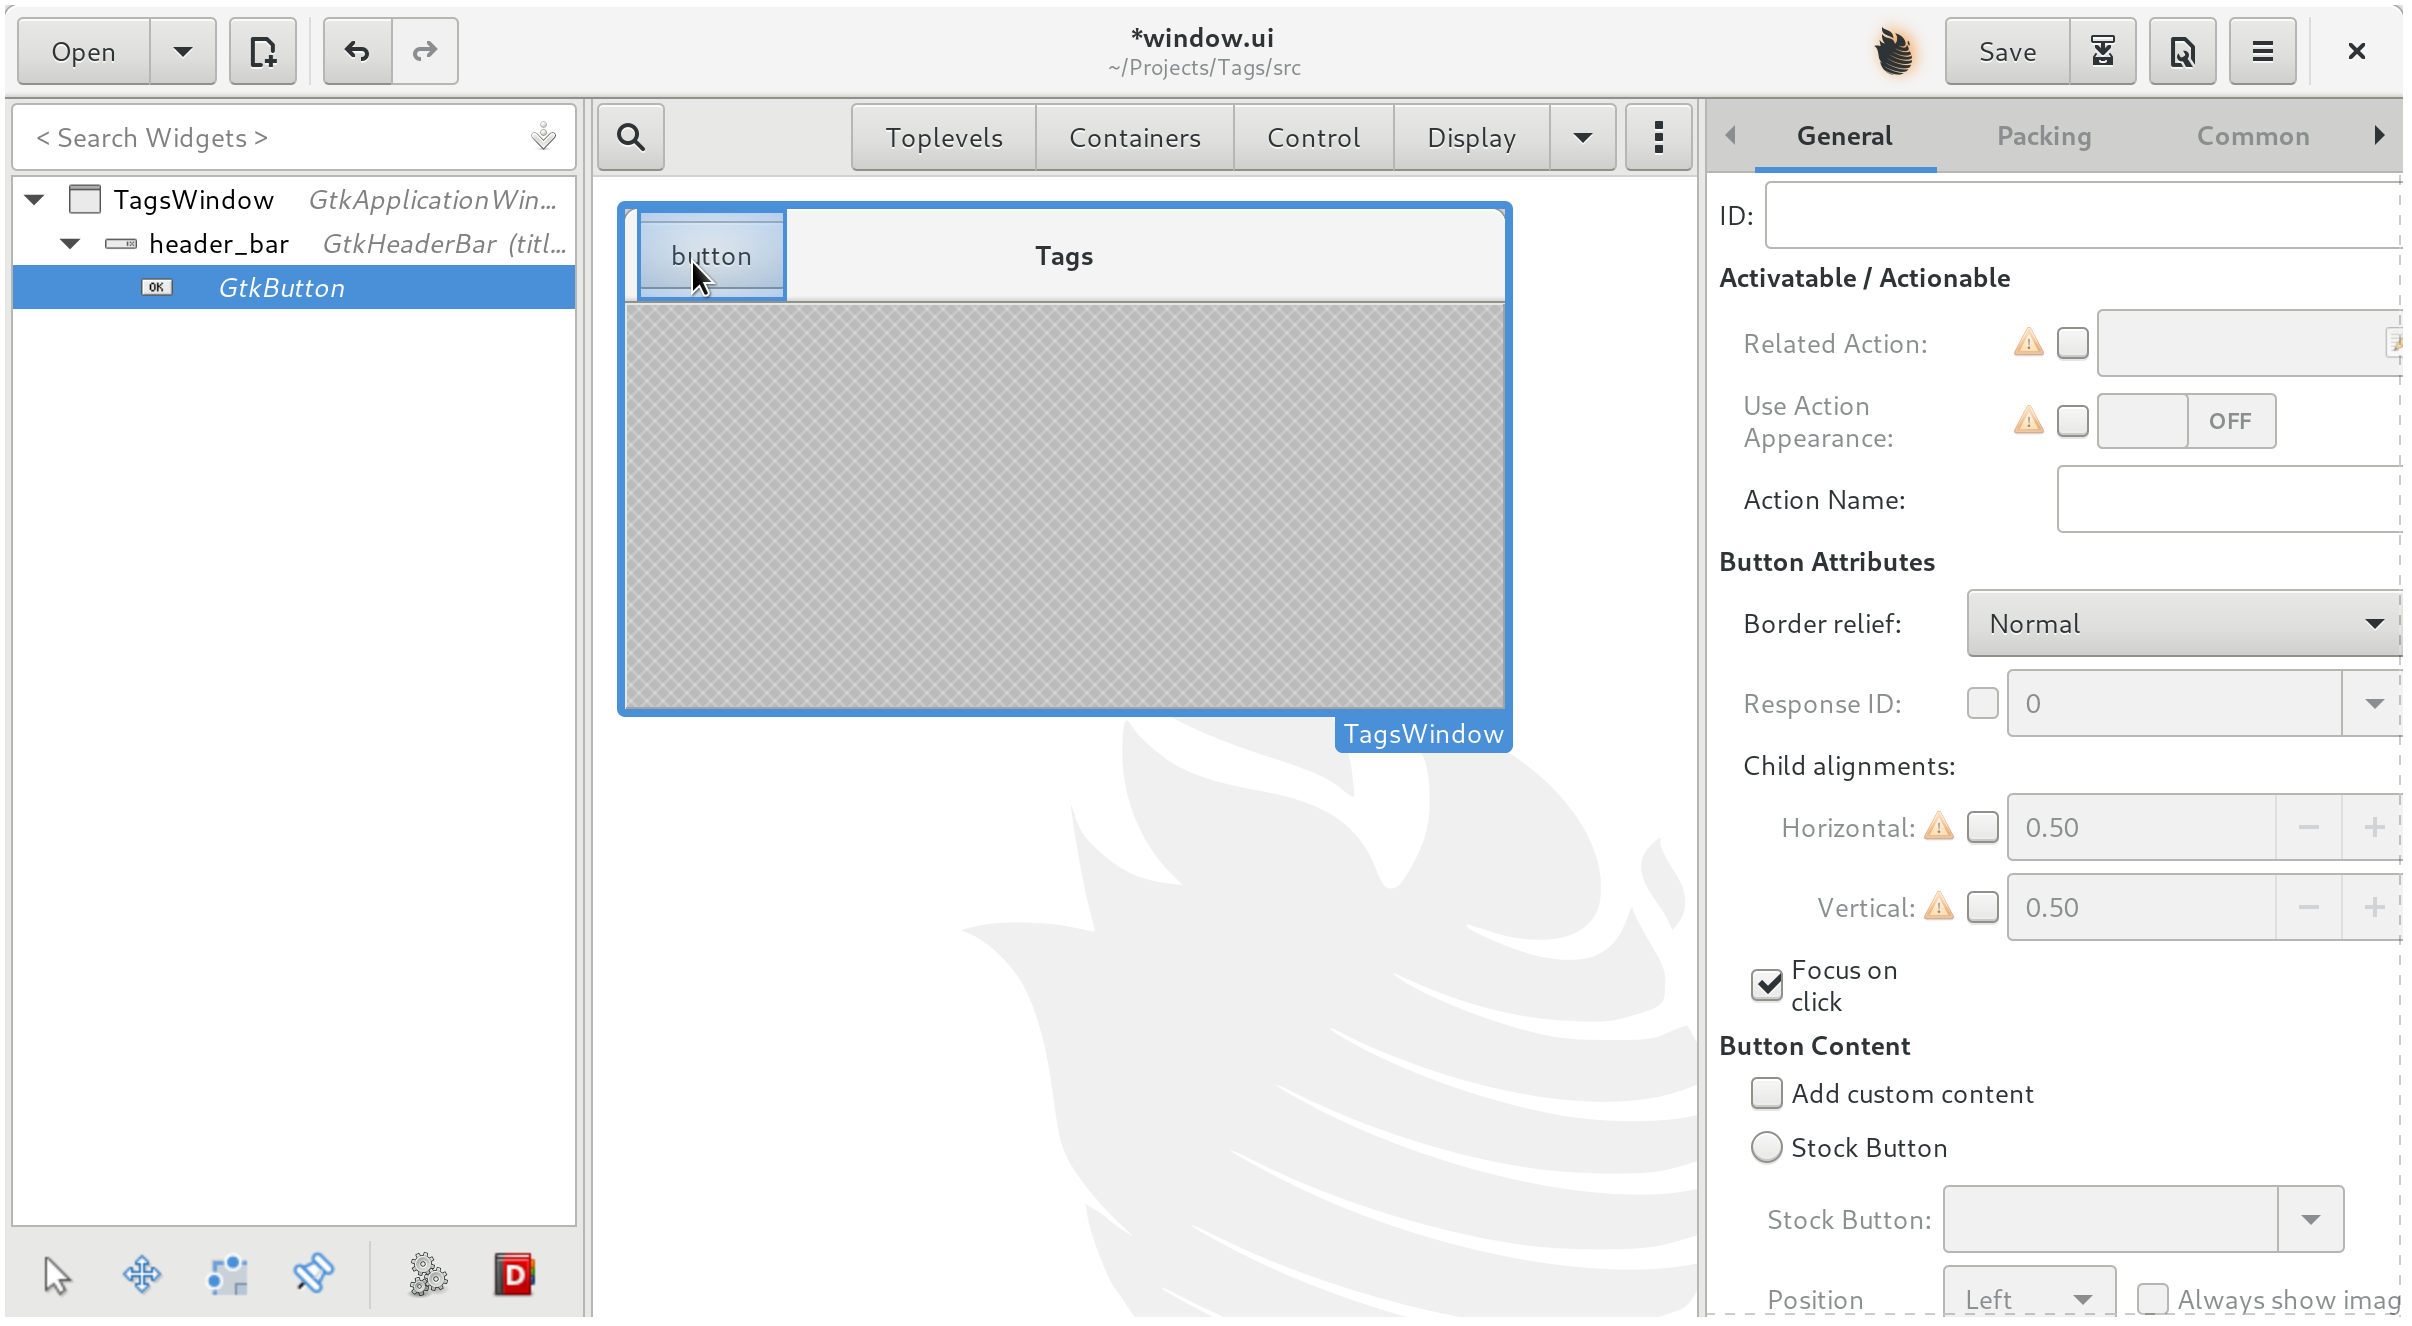
Place a button in the empty slot we've created in the header bar.
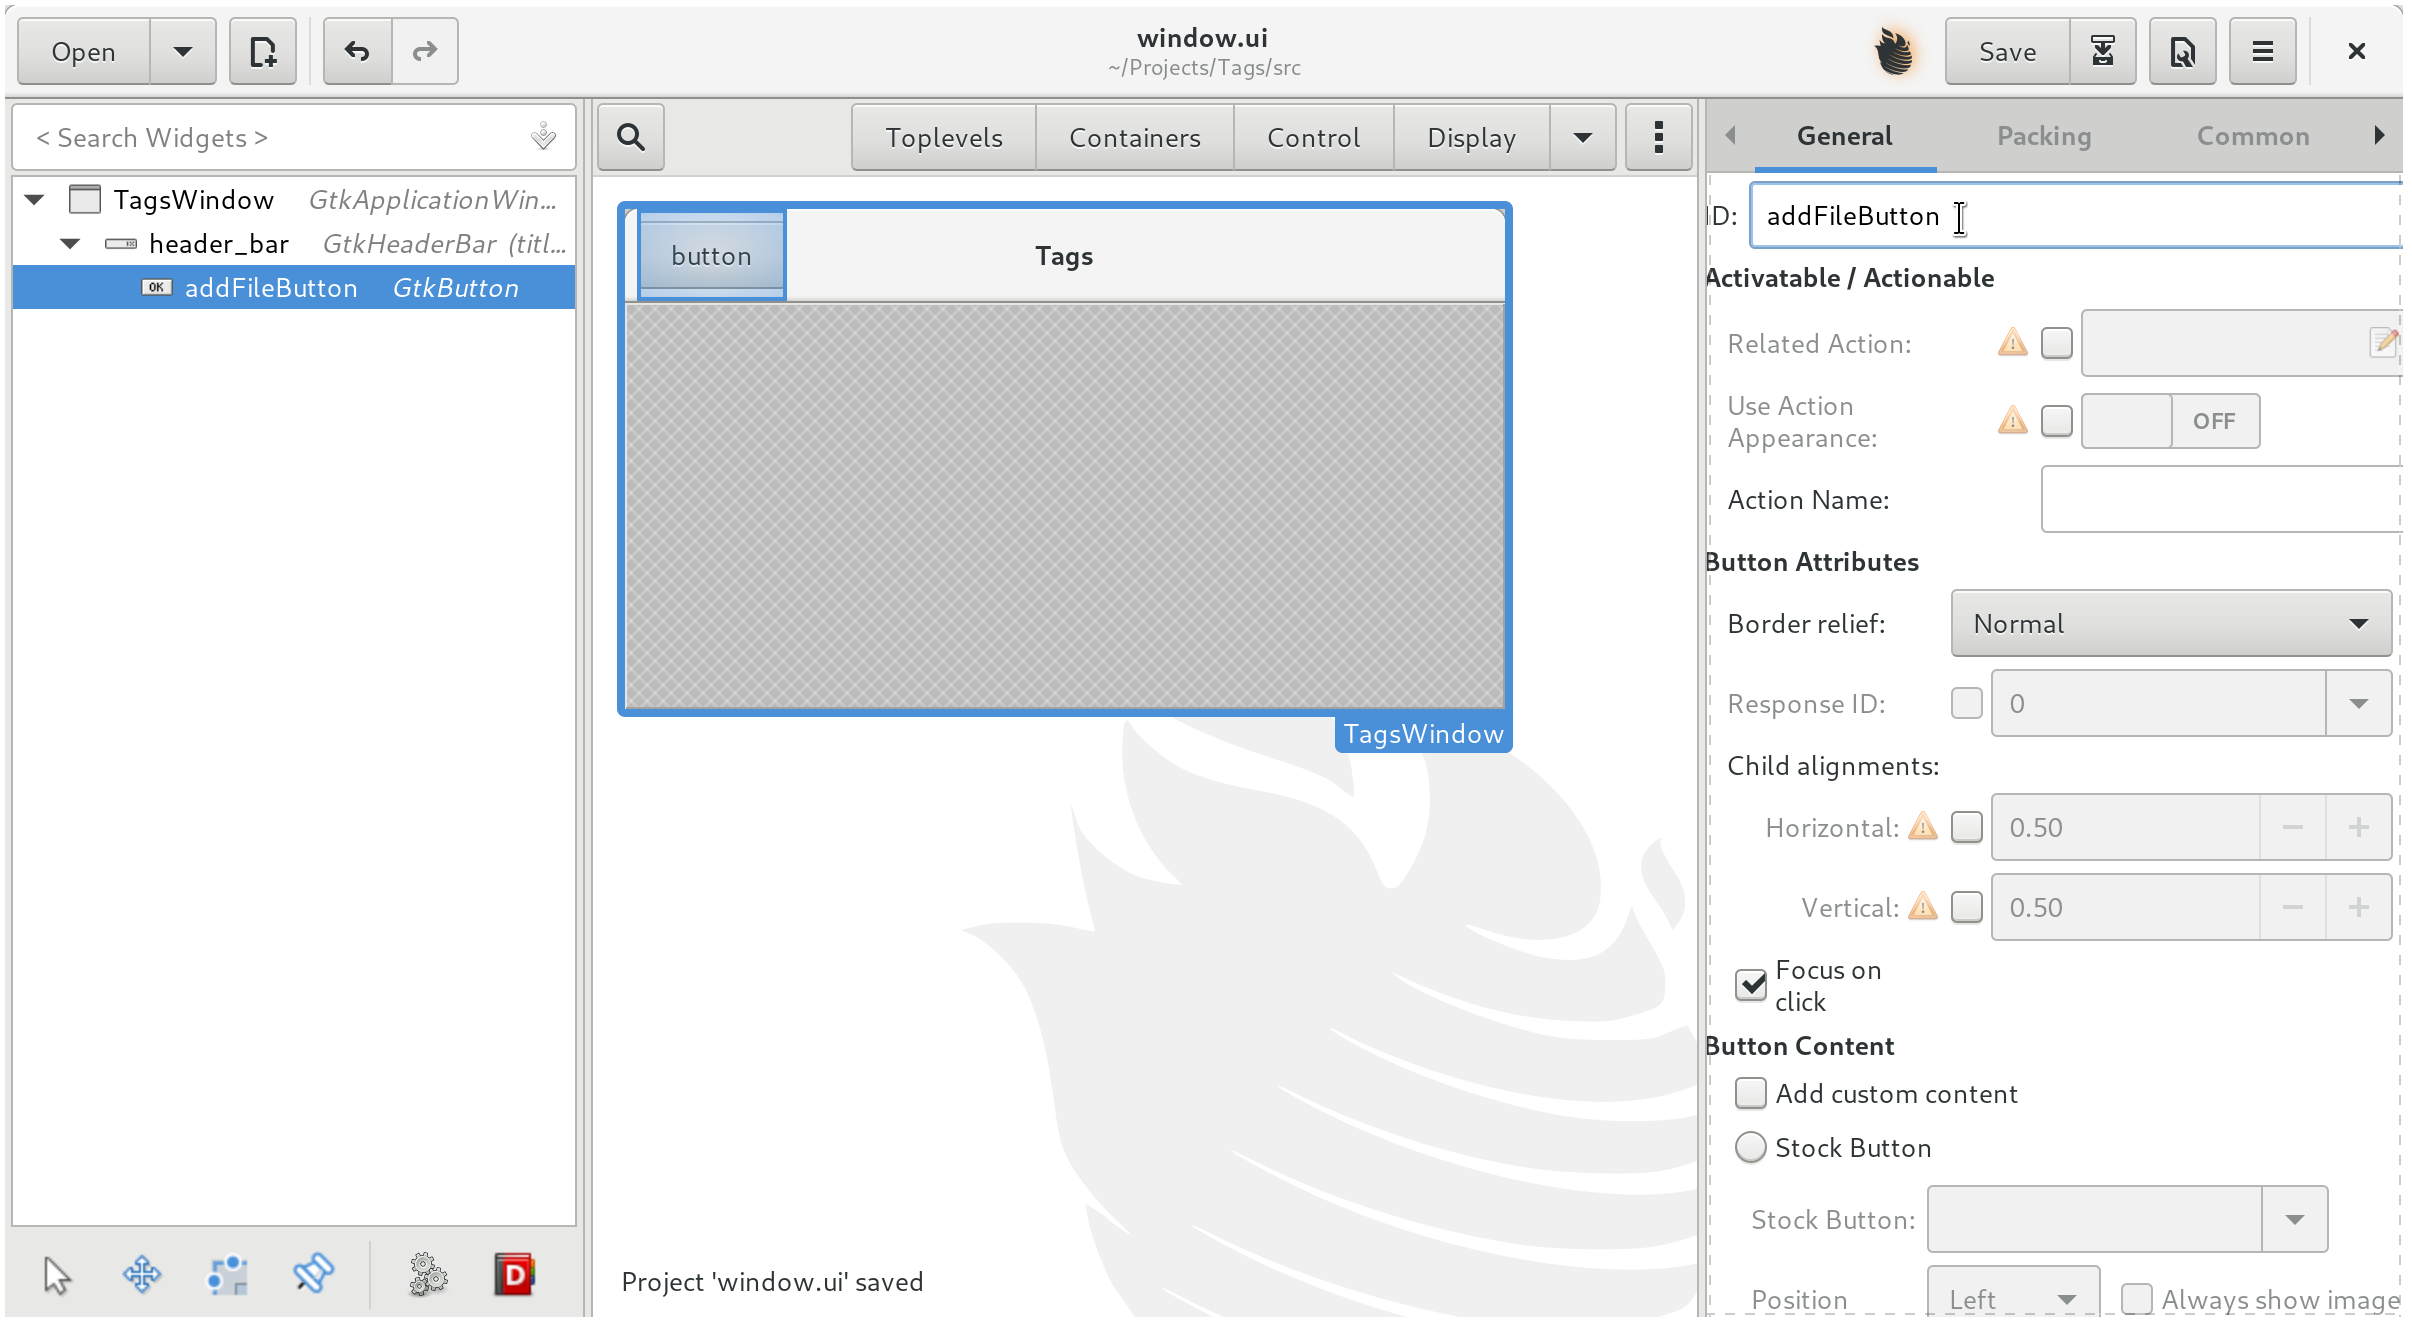
Now let's name our button. We'll call it addFileButton because we'll use it to open files for Tags.
While we're at it, let's rename our header bar too because camelCasing is preferred in GJS.
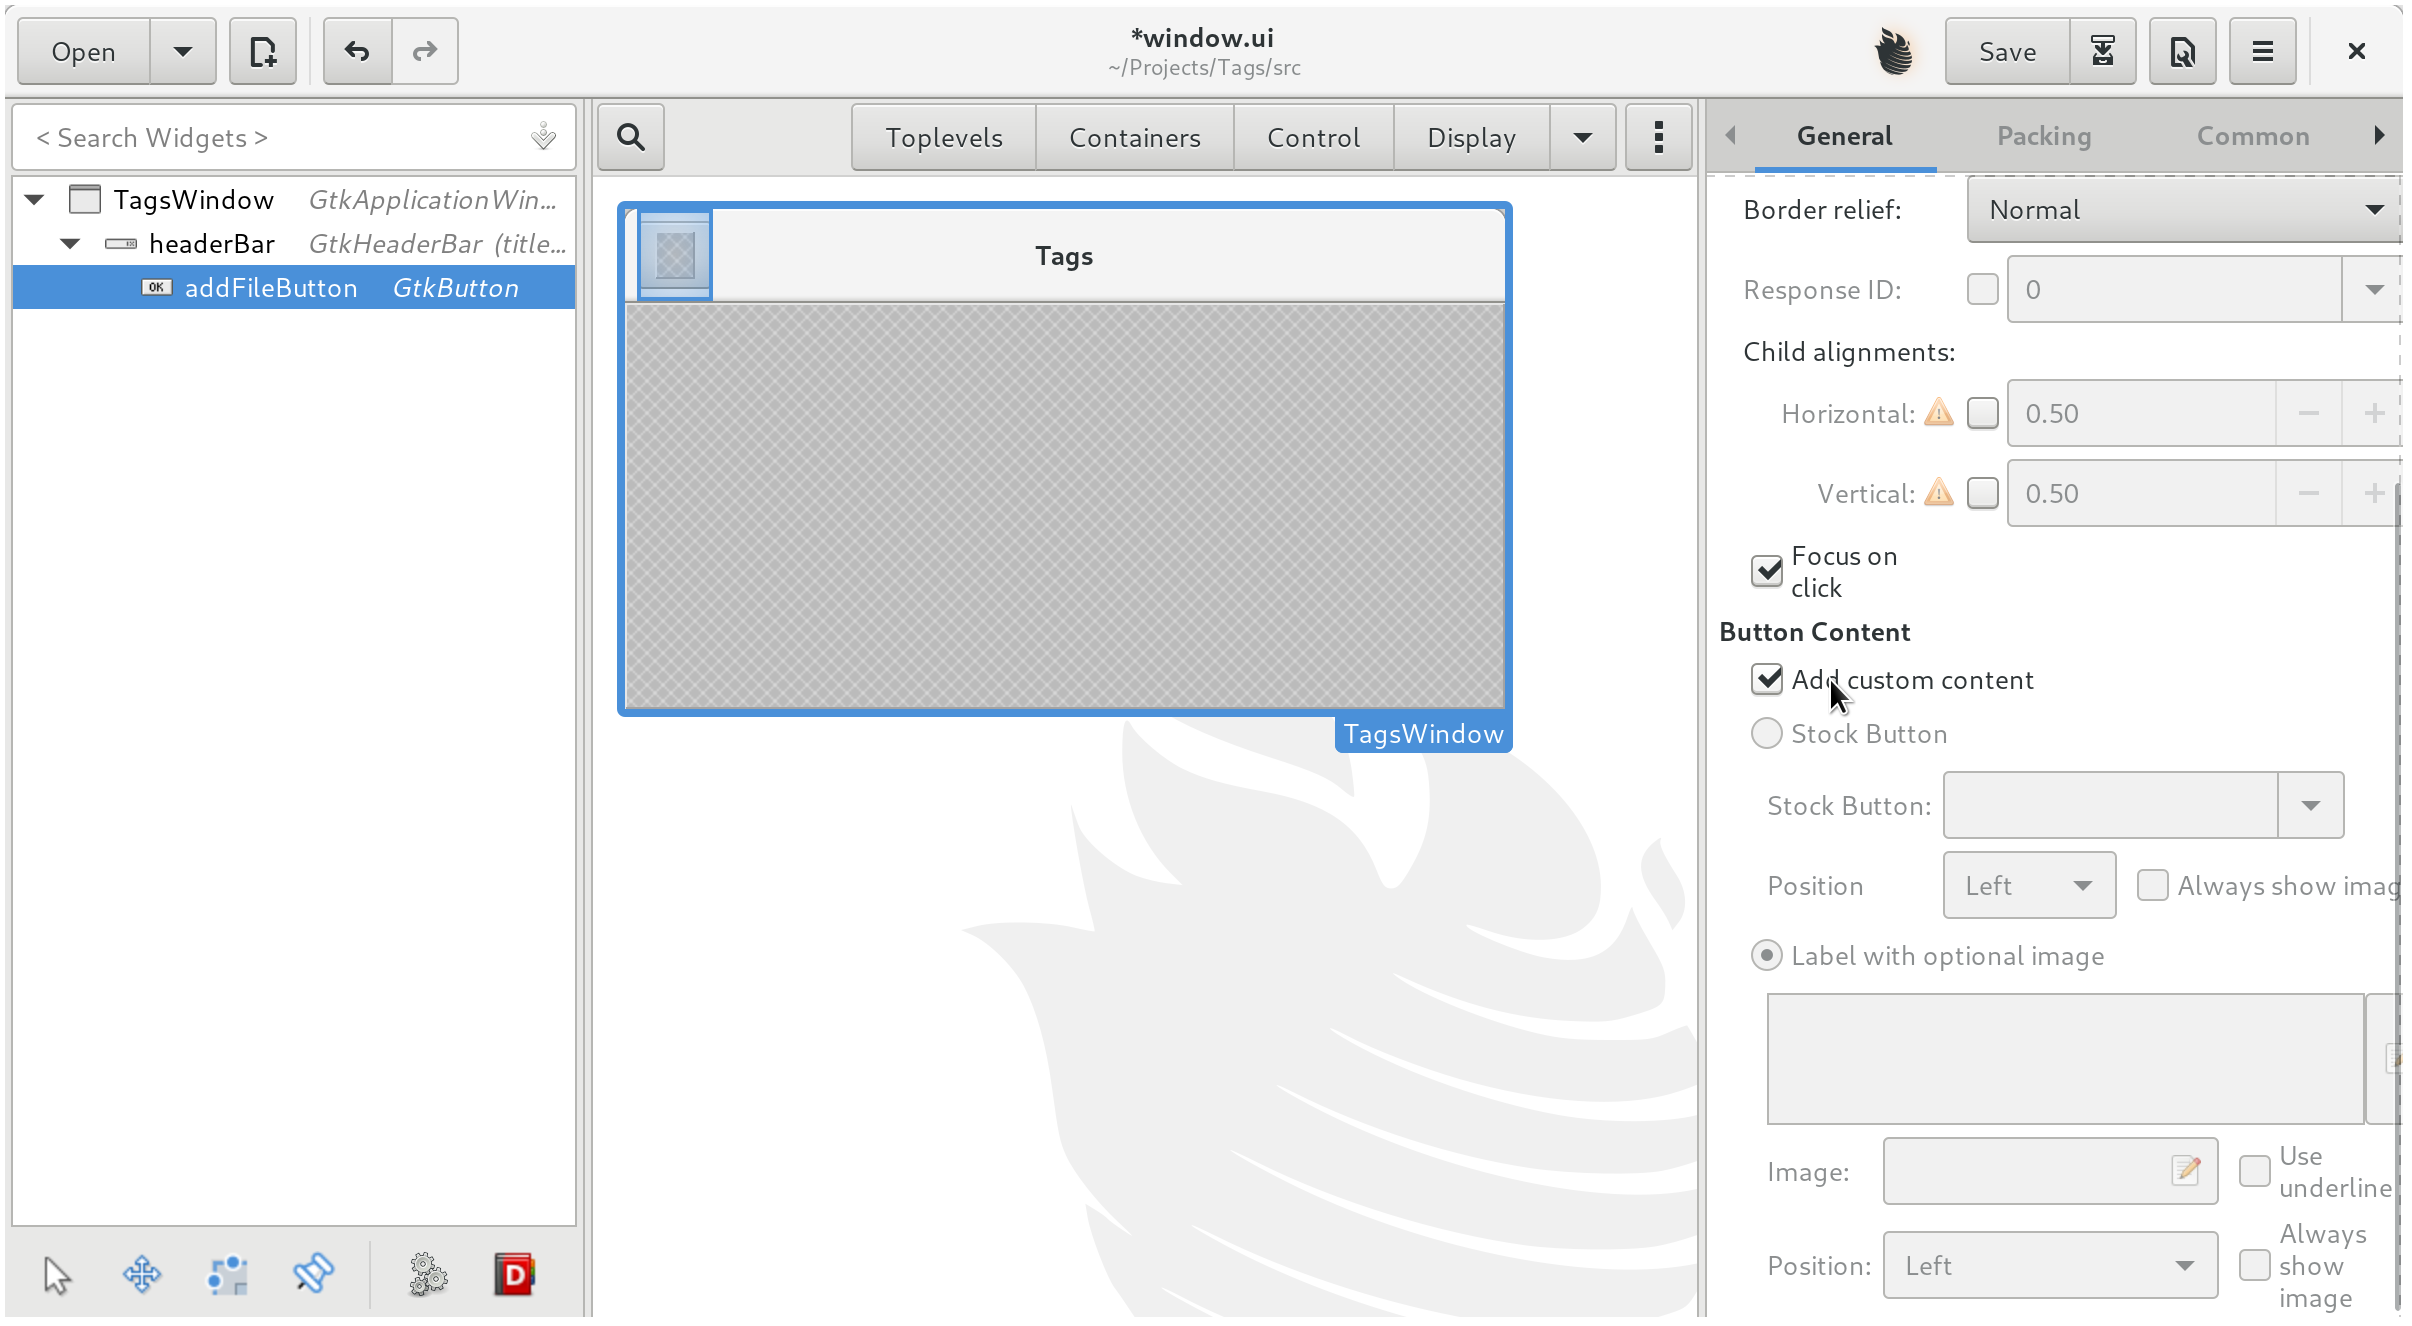
We want to have a + image inside our button to symbolize adding. To do this , select Add custom content in General in the button's properties section.
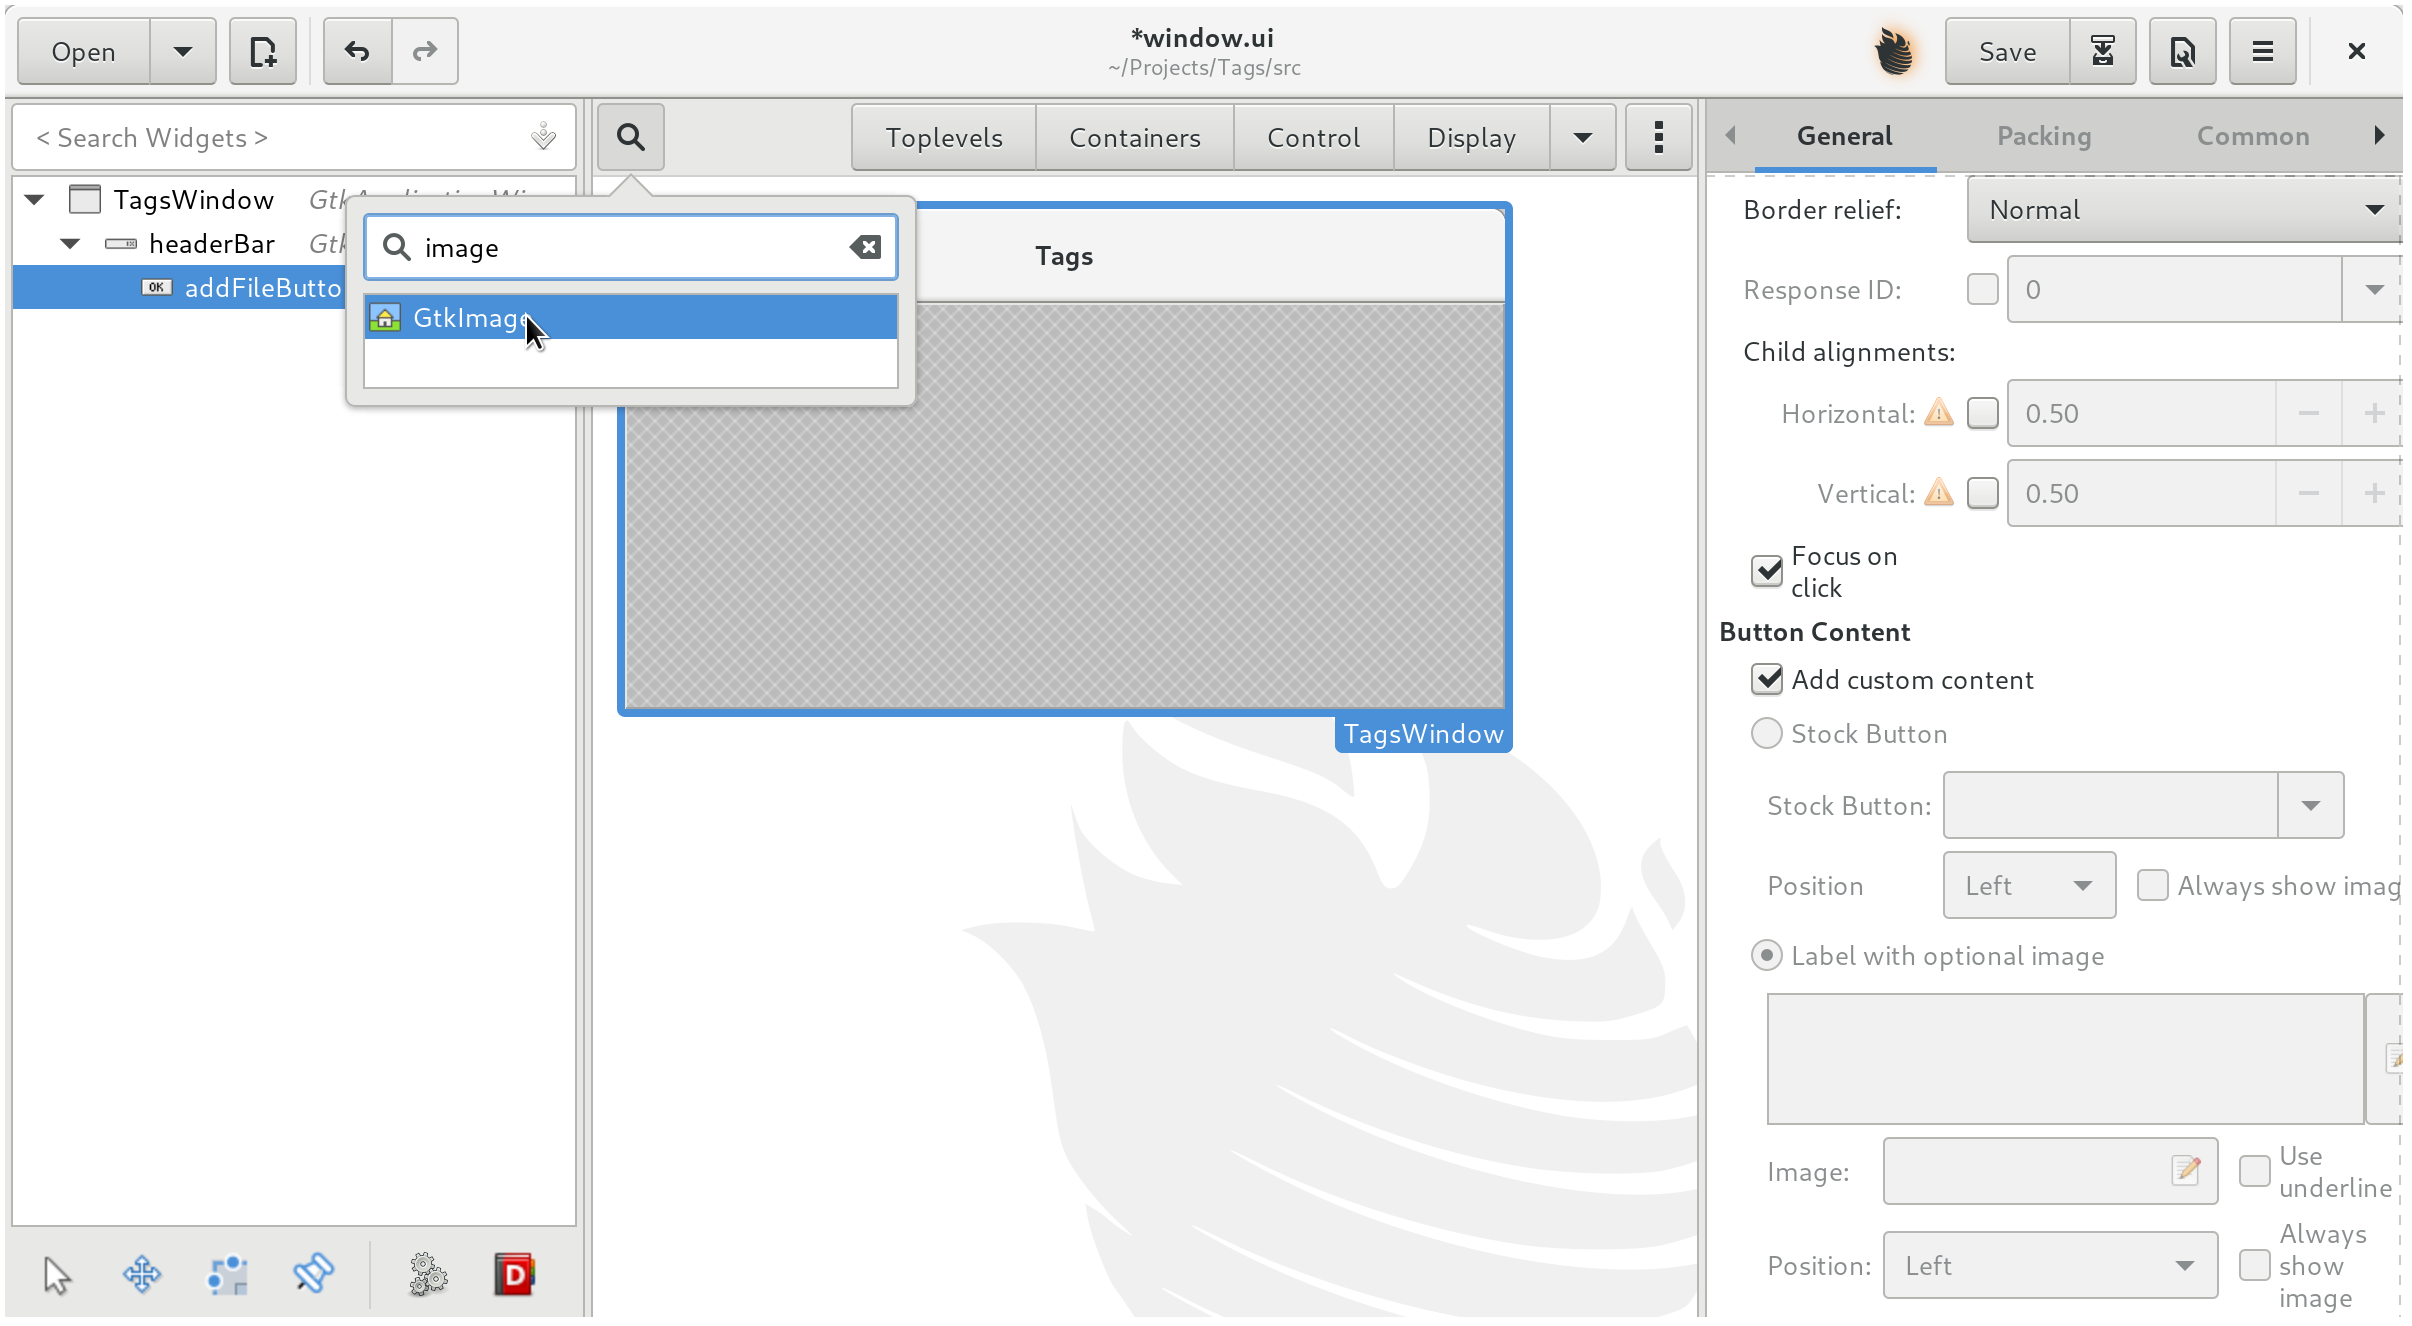
Now let's grab a GtkImage.
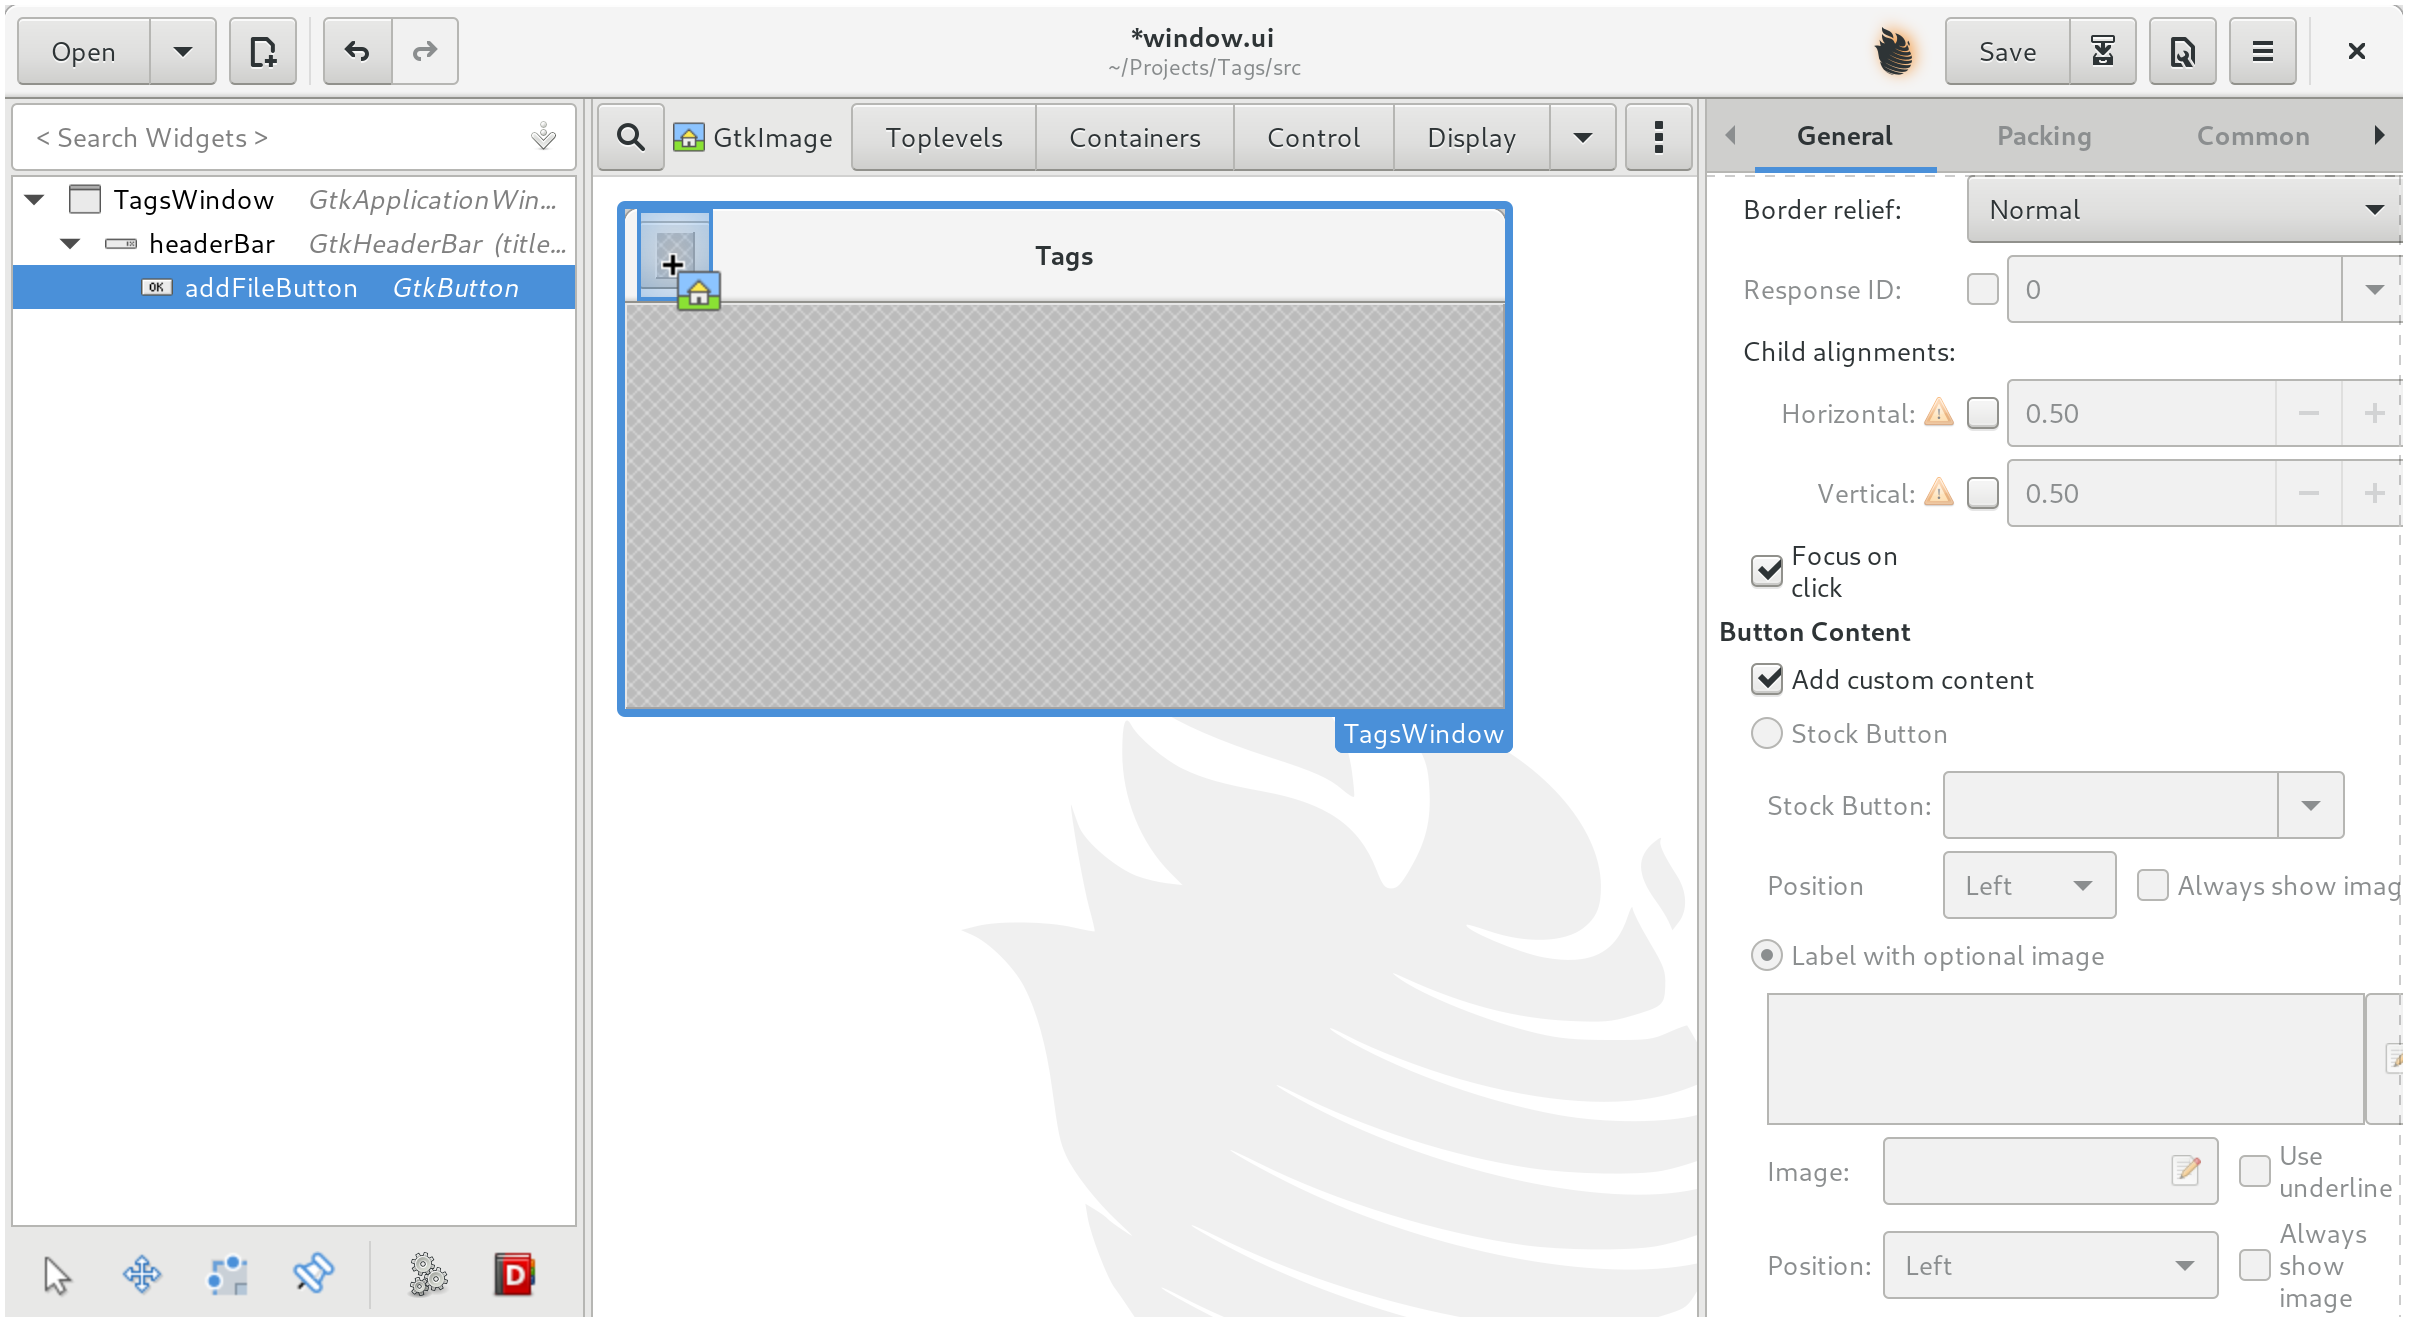
Pop it into the button's empty slot.
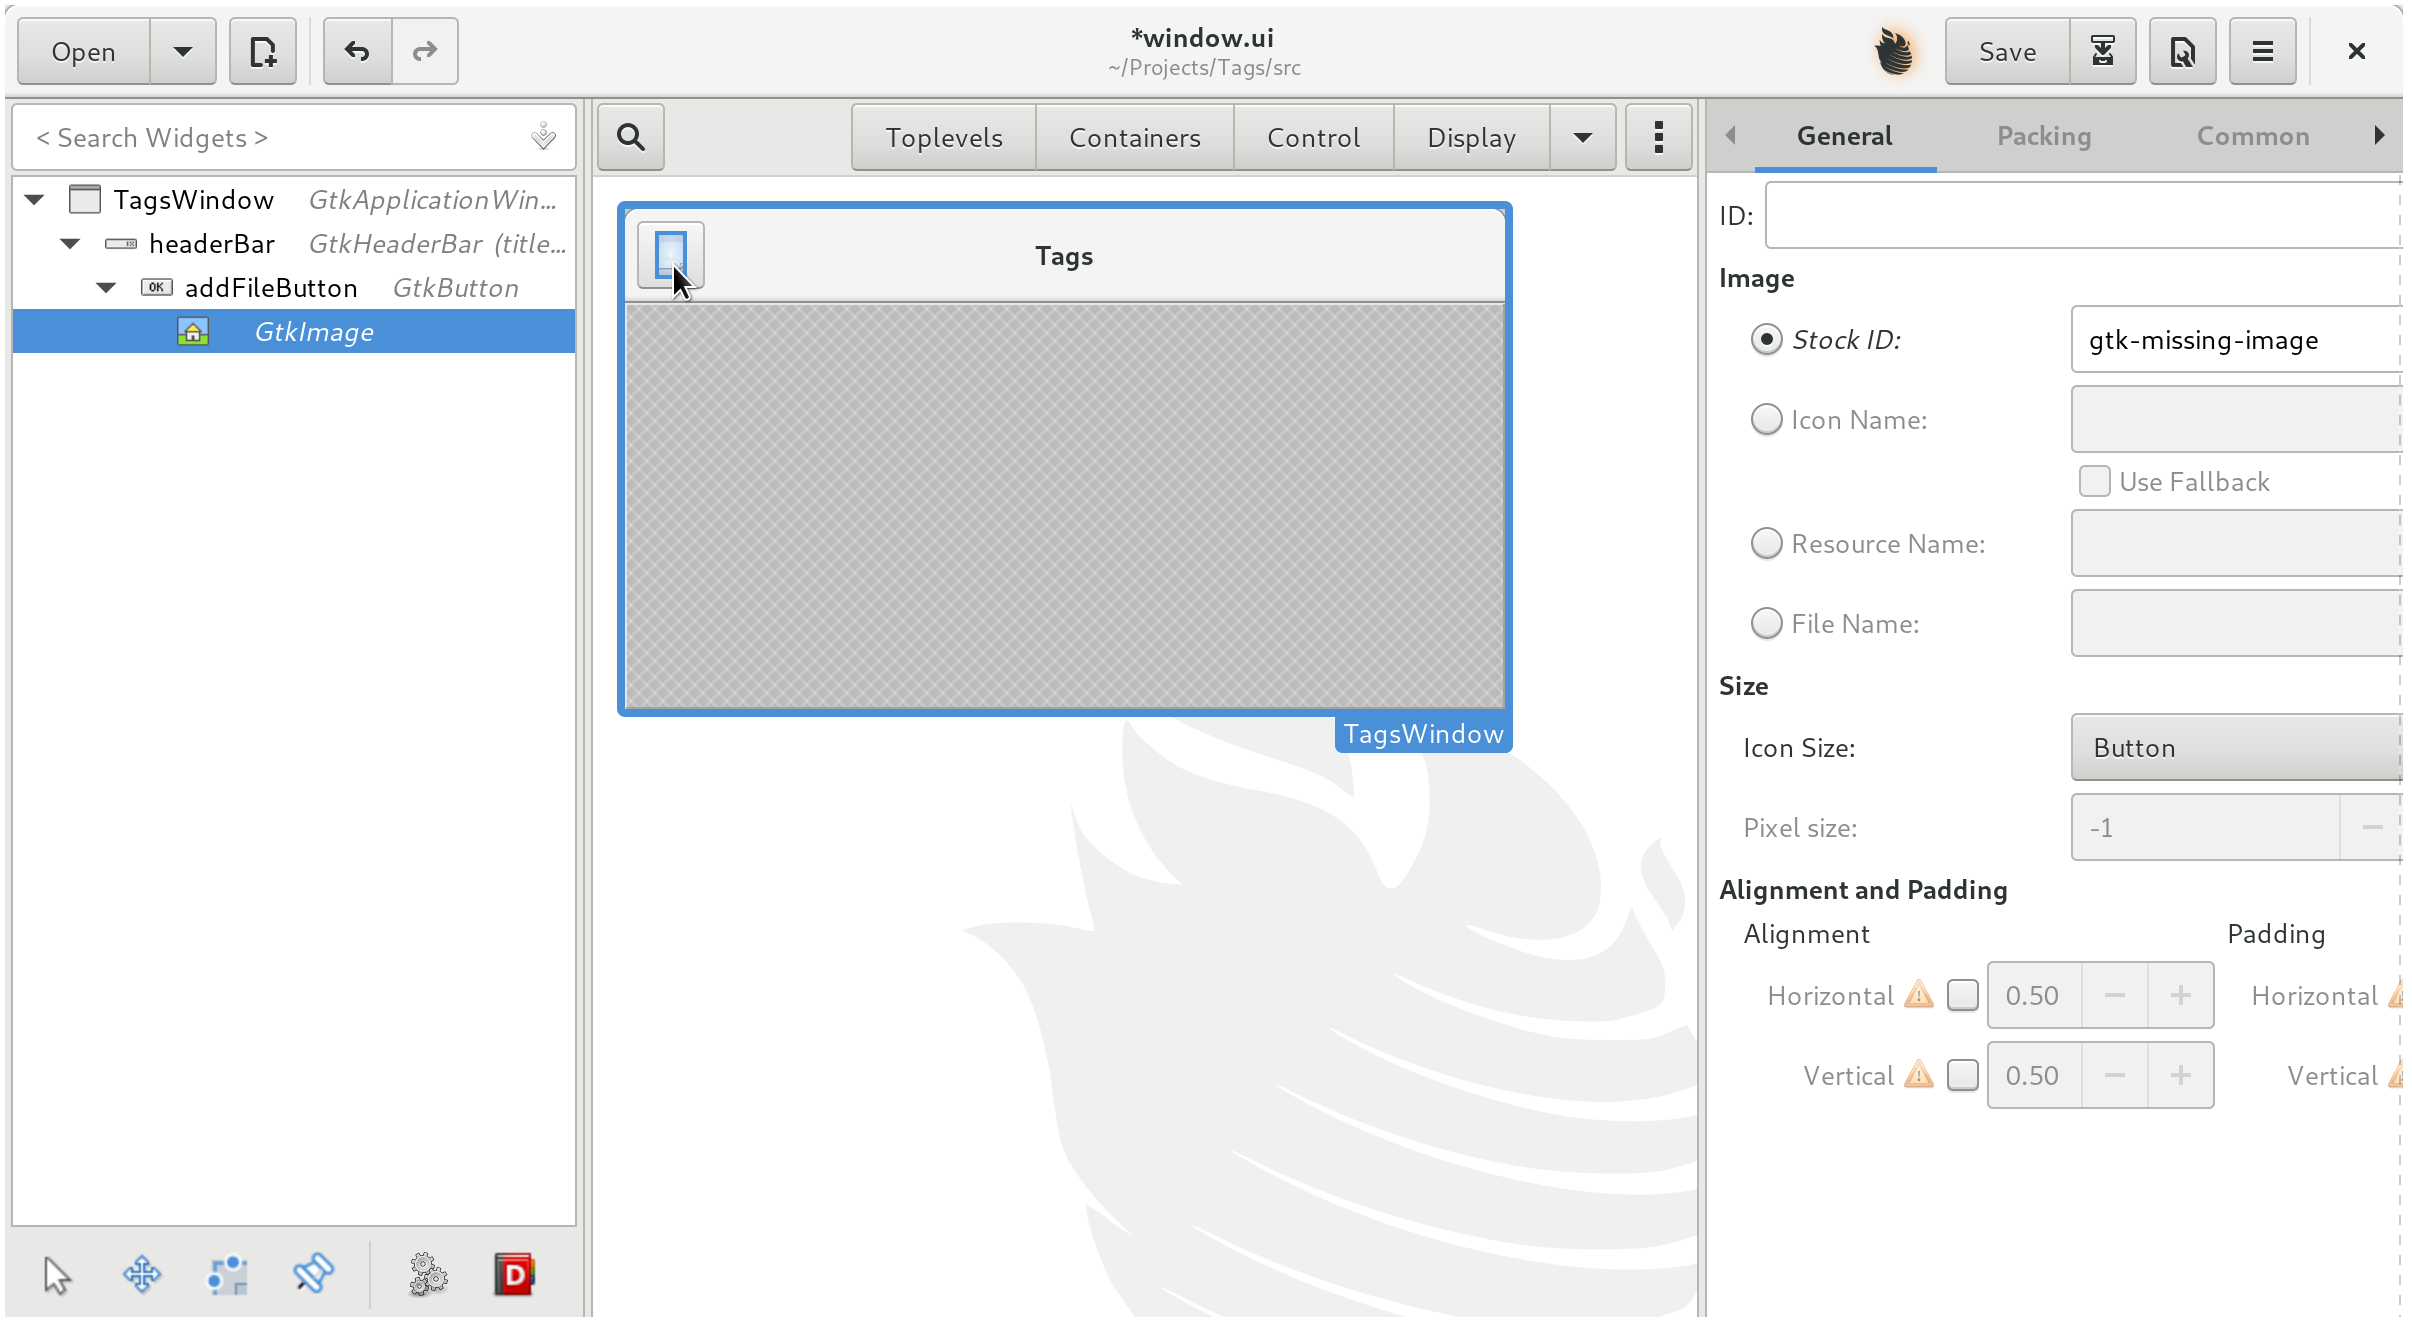
Now select the image.
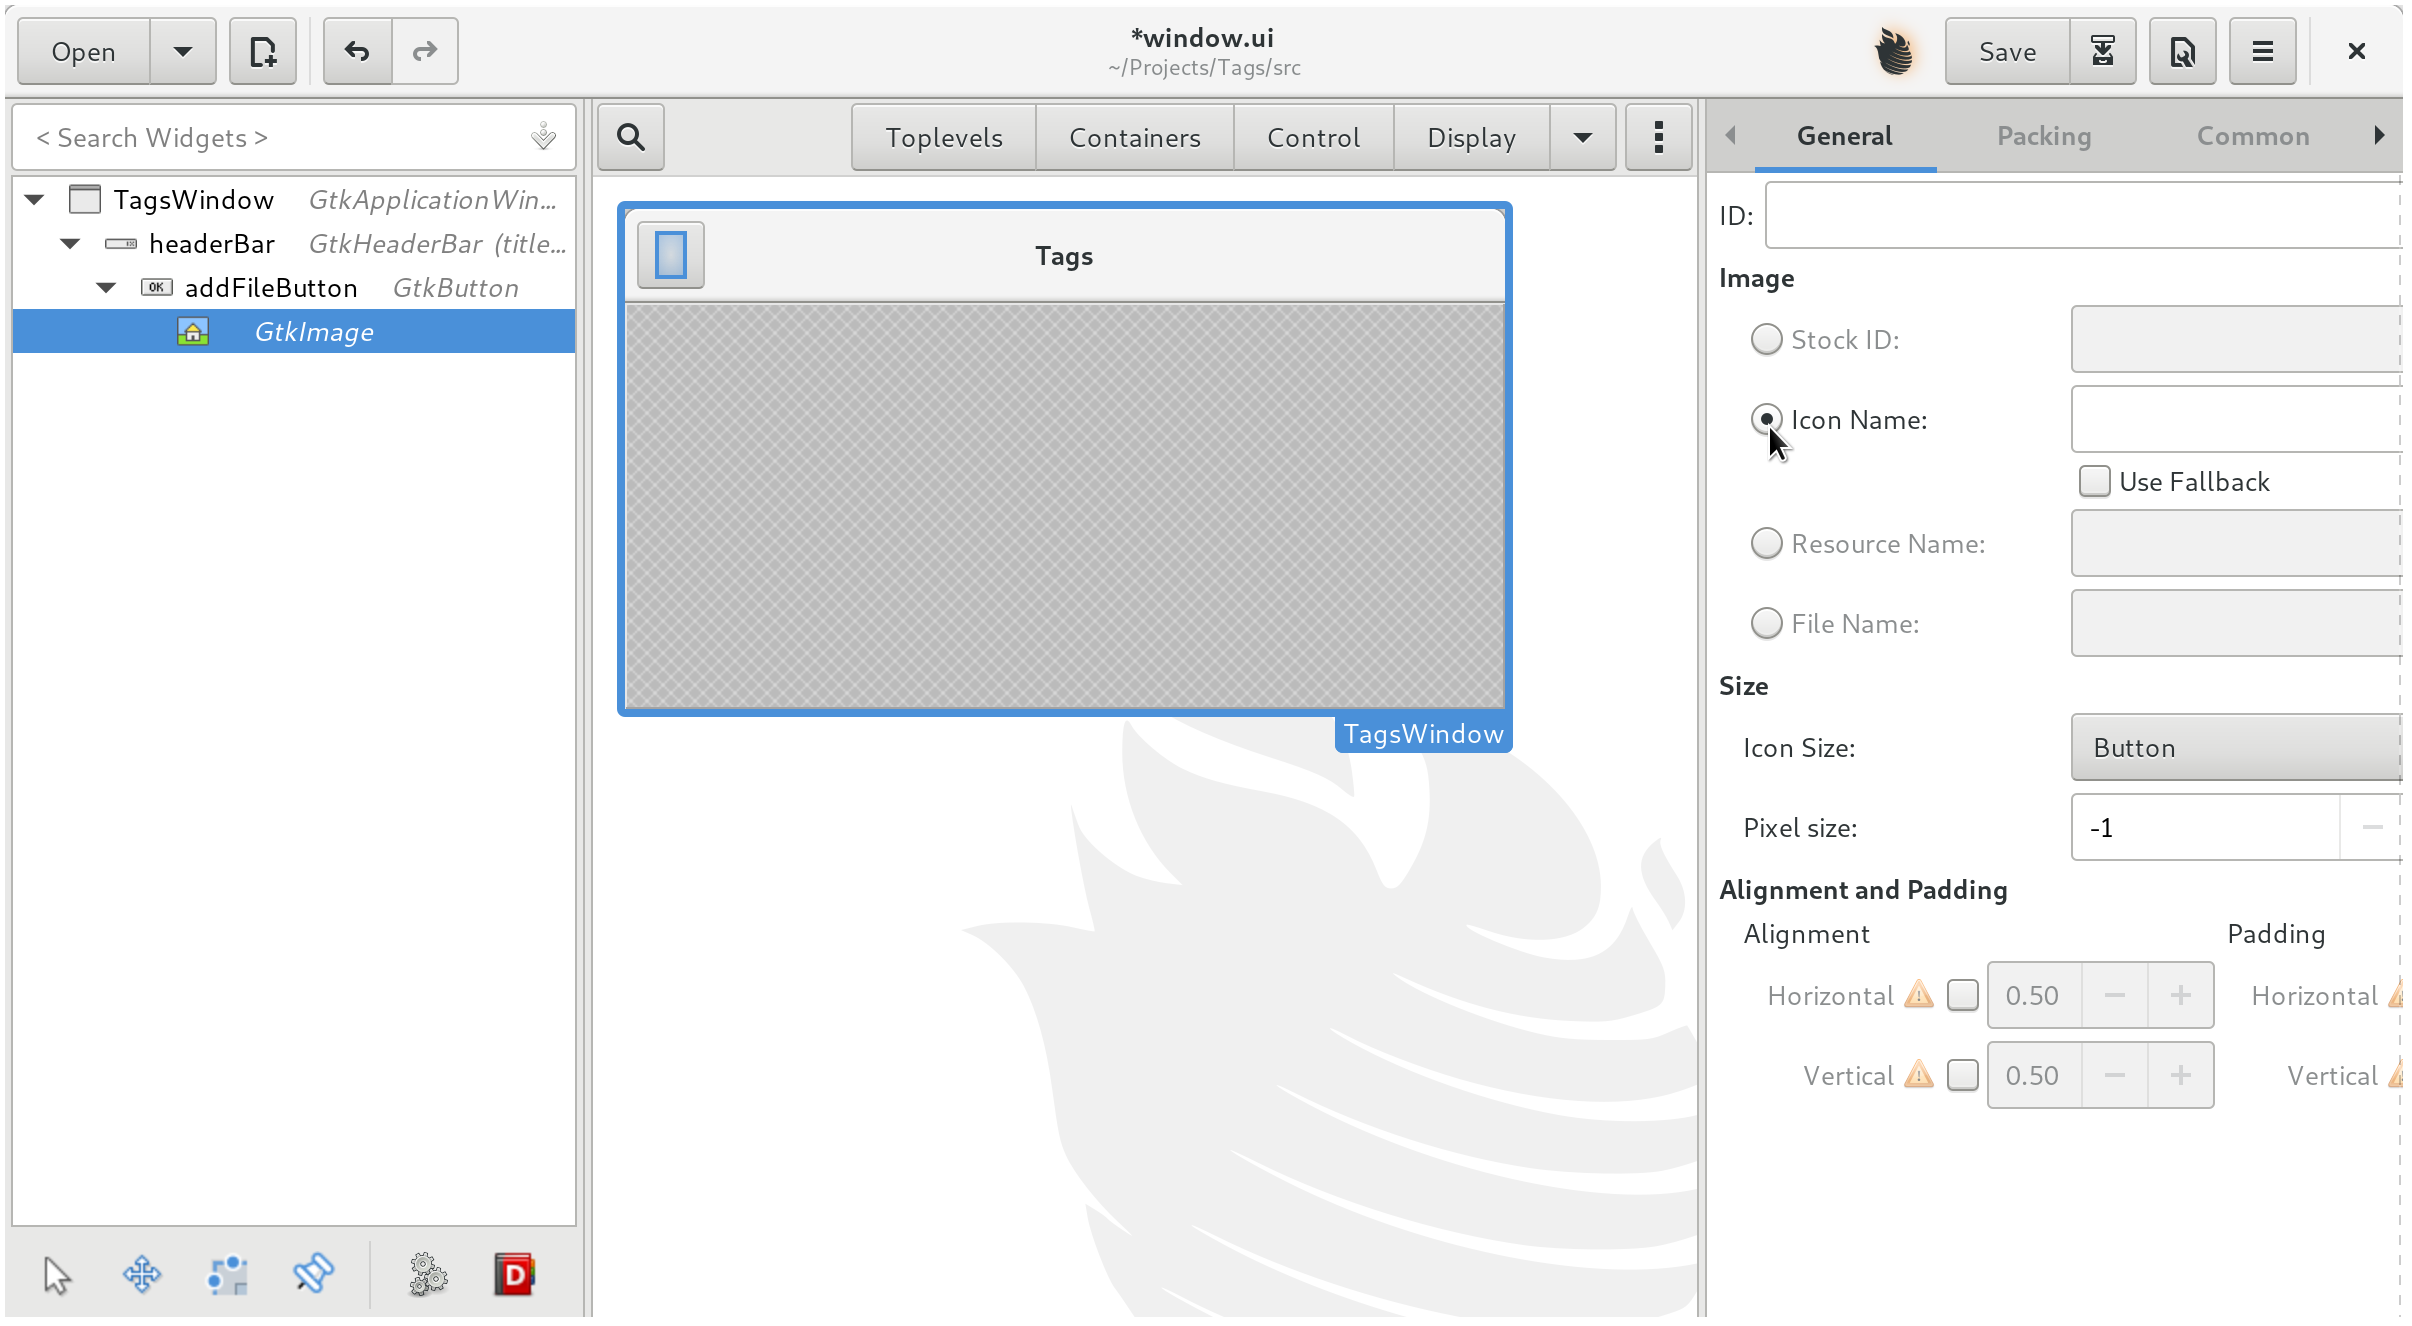
Find Icon Name in General in the properties section of the GtkImage. Click on Icon Name.
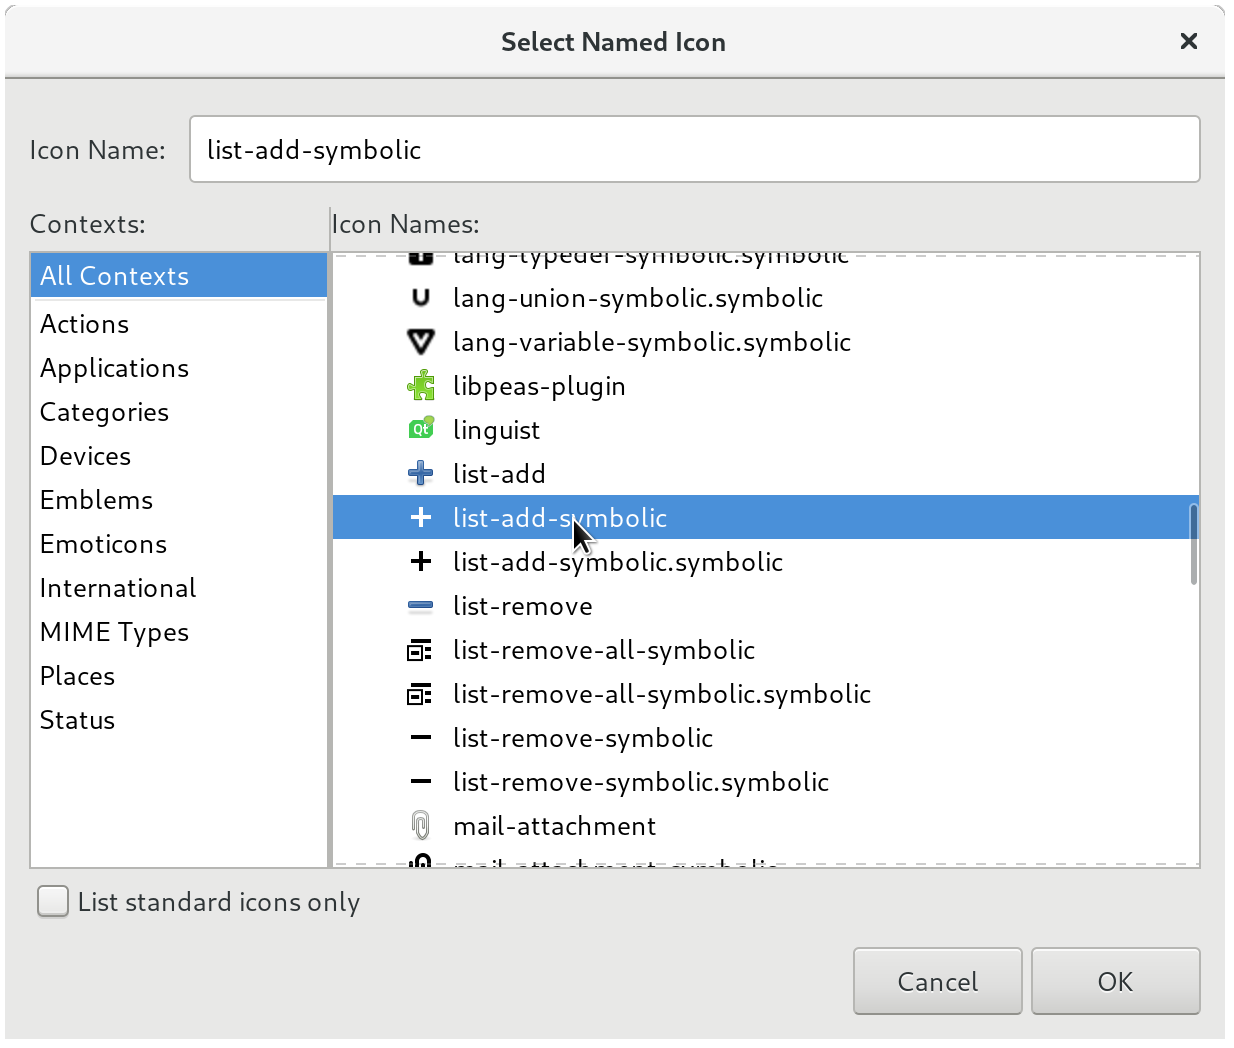
Select the appropriate semantic name for 'adding' which is list-add-symbolic. Be certain you get list-add-symbolic and not list-add as symbolic icons are monochromatic and meant for menus and buttons.
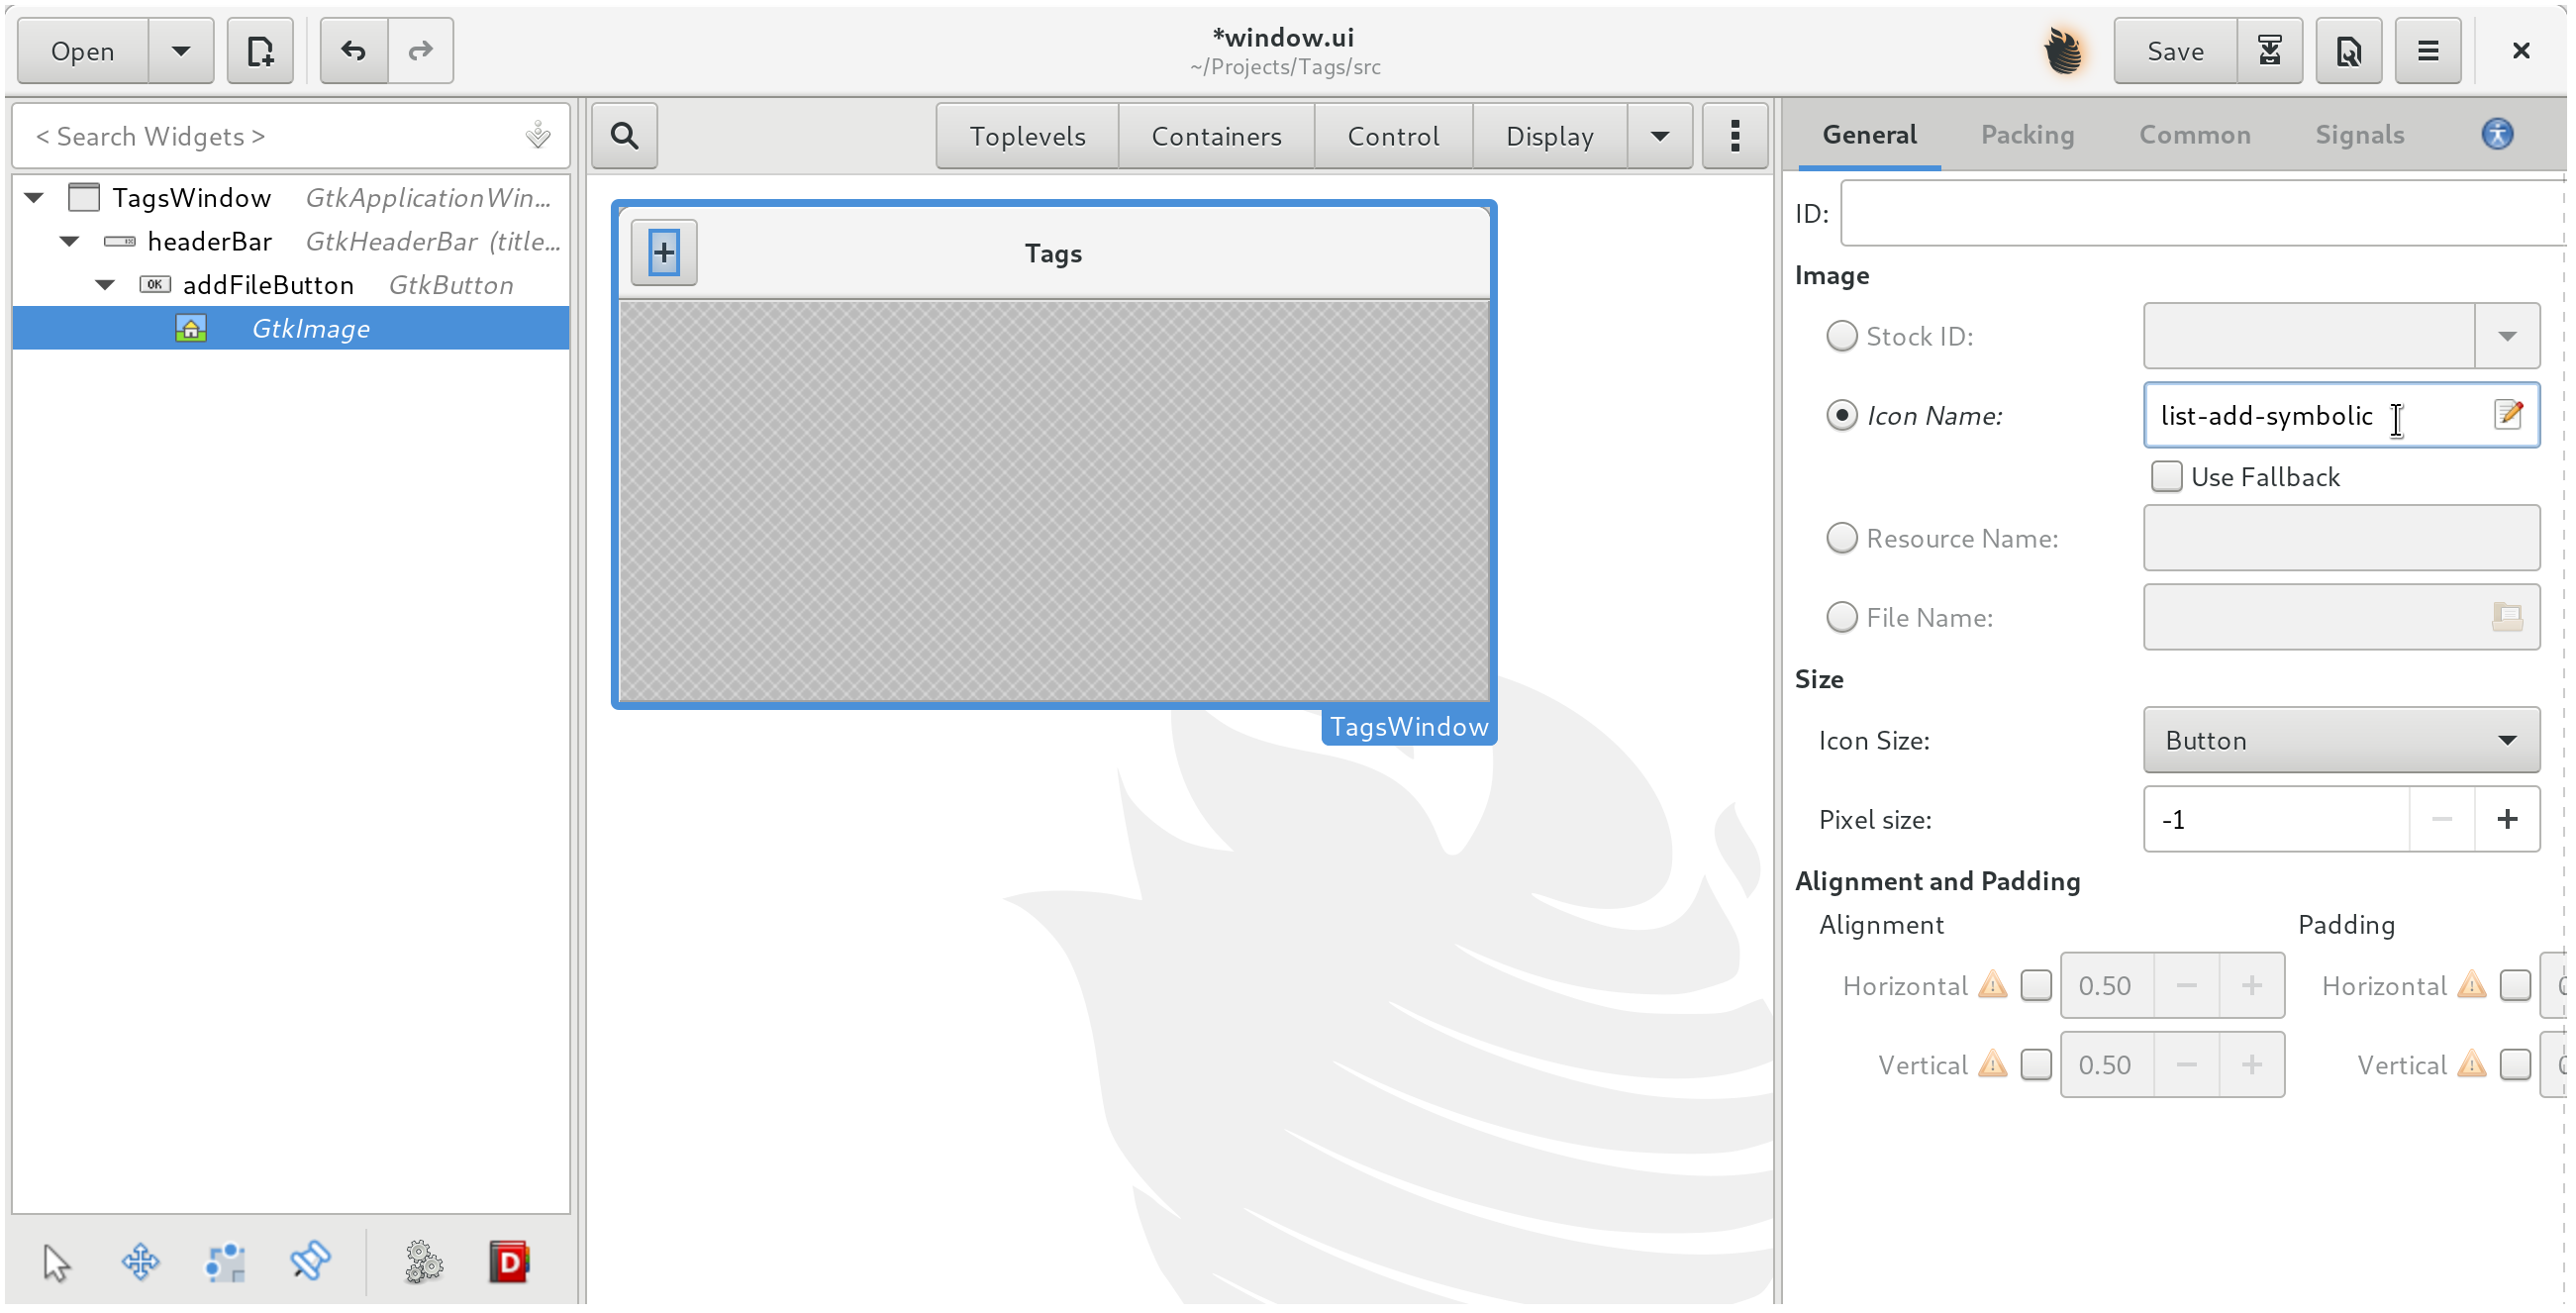
You should now see the symbolic name list-add-symbolic under Icon Name.
Select GtkBox from the widget picker.
Now we will add a GtkBox to store the window contents.
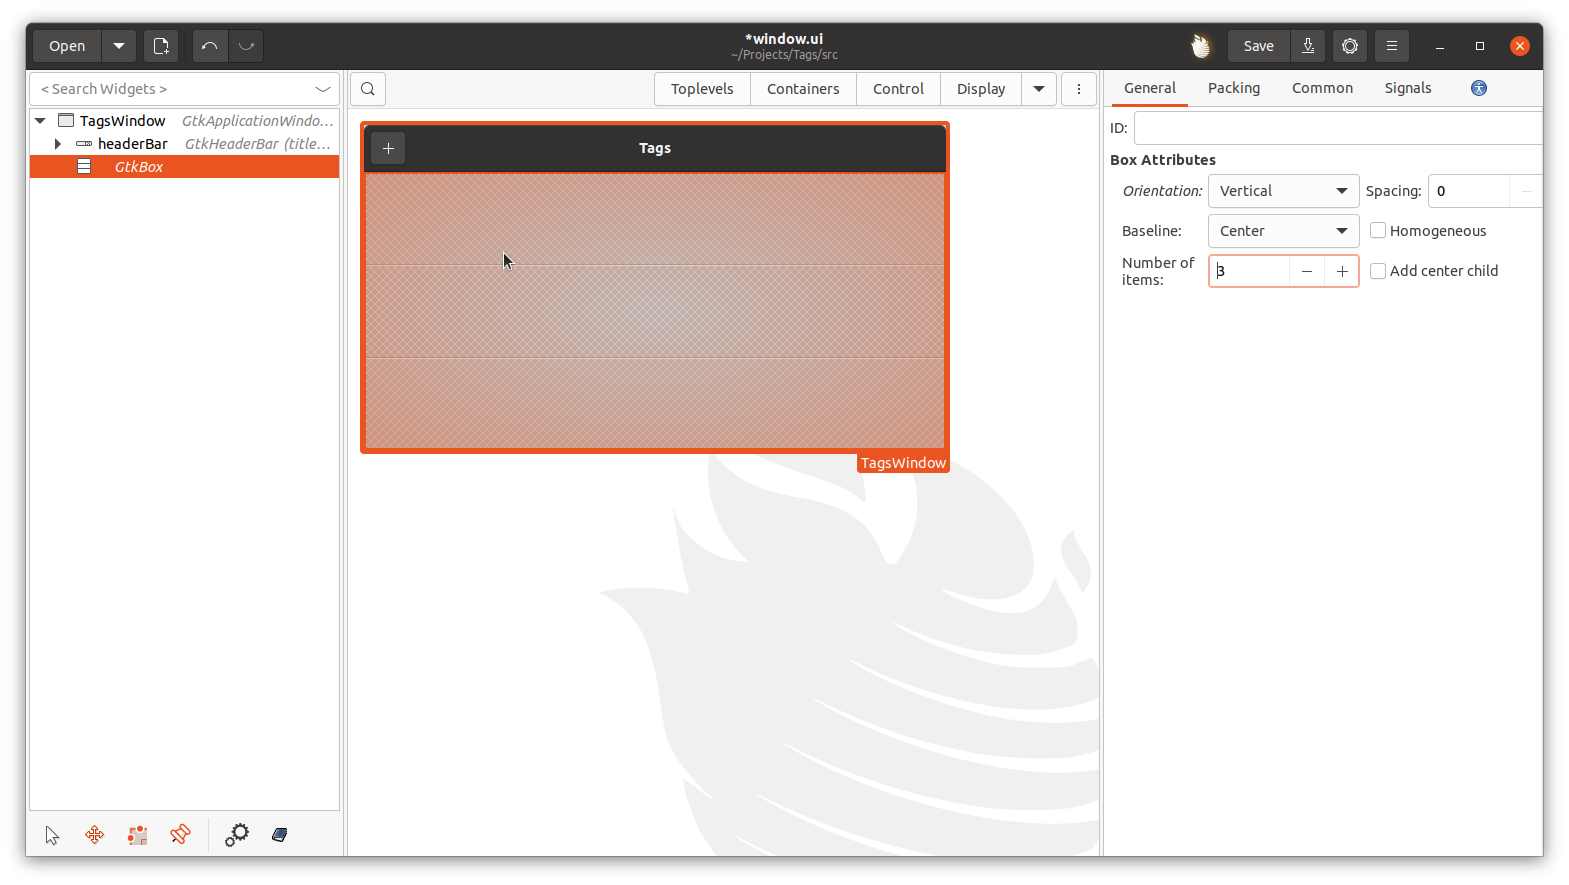
Pop it into the empty space in our window, TagsWindow.


Now set Number of items in General in the widgets properties to 1.
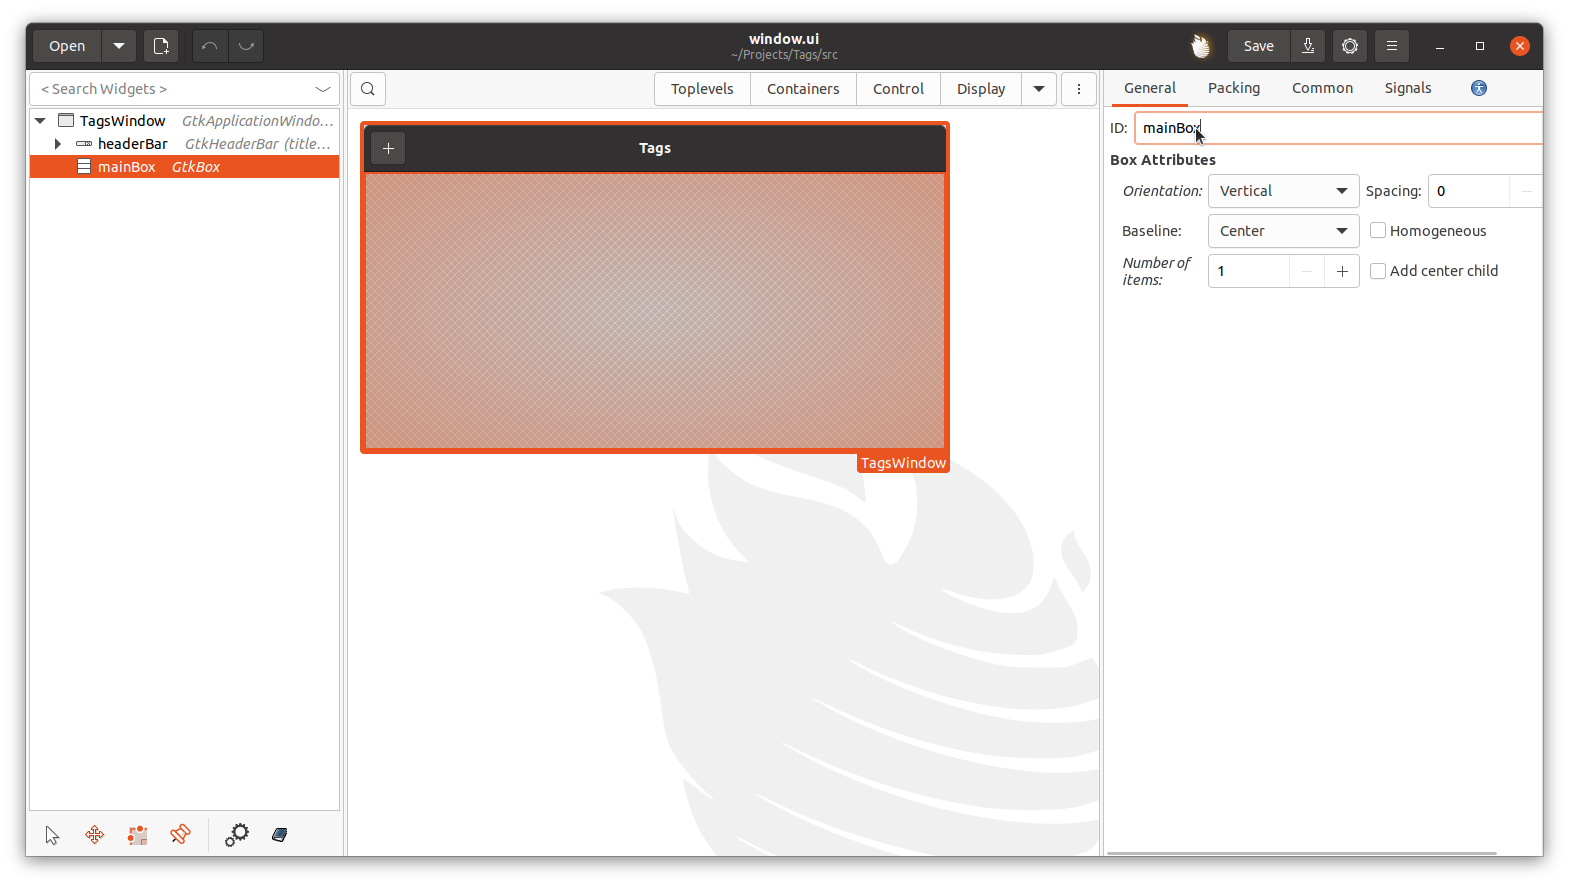
Now set the widget ID to mainBox.
And we've built our UI!